
This is a comprehensive guide based on how to fix Windows 10 Memory Leak with complete information.
What is a Memory Leak?
A memory leak is the biggest foe of your PC’s memory. The common reason behind the Windows 10 memory leak is programming oversight.
Generally, when an application doesn’t correctly release a block of RAM to the operating system’s memory manager, the memory leak occurs.
Moreover, the most common memory leak in windows is standby memory. Undoubtedly, when standby memory eats the free memory of your device. Then, it begins to hang. So, it is necessary to keep your drivers updated.
Besides, Before going to know how to fix windows memory leaks. Let’s learn about how to find memory leaks by various processes.
Find a Memory Leak With Windows 10 Resource Monitor
Window resources monitor is a tool that helps you to find how Windows is managing your computer’s resources. Like, RAM, CPU, hard drives, and so on.
Along with this, window resources can also observe whether an application or process is releasing your standby memory or not. Therefore, follow the steps mentioned below to know how to view your system’s memory usage.
Step 1:
First, You have to press Windows +R together. This will open up the RUN dialogue box now enter “resmon” command to the box which appears on the screen. Then click on OK.
Step 2:
Find and select the Memory tab. After this, select Commit to reorder the list.

Step 3:
Now, Monitor the Standby (which is on the blue bar) with the application.
Find out a Memory Leak With Windows RaMMap
RaMMap is a free tool of Microsoft. It will help you to know how Windows manages and allocates your RAM.
Likewise, the windows resources monitor also display standby memory usage. So, follow the steps to understand how to download and run RaMMap.
Step 1:
Open the web browser and visit RaMMap’s Sysinternals webpage and Download RaMMap.
Step 2:
You have to go to the Download folder (press CTRL+J) on your web browser to open Downloads. Copy the RaMMap archive to the folder. Then extract it into the preferred location.
Step 3:
Now right-click on the RaMMap application to open the menu list and select Run as administrator from it.
Step 4:
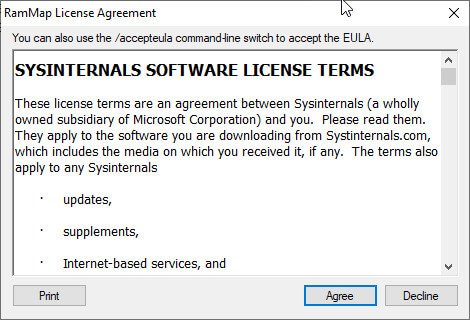
After this, It asks for permission. Click Yes. Review the SYSINTERNALS SOFTWARE LICENSE TERMS. Then click on Agree.
Step 5:
You have to choose the Use Count tab. Examine Standby’s memory. If increases.

Step 7:
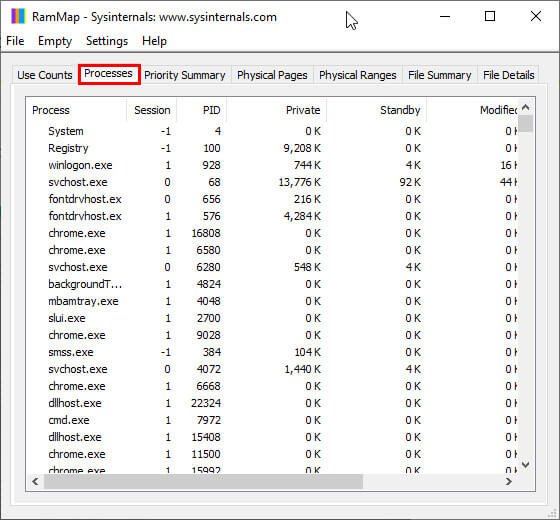
You can also click on the Process tab that uses physical memory to take a closer look into any particular process using lots of memory.
Inspect RAM With Windows Memory Diagnostics Tool
Running Windows Memory Diagnostics will help you to check your computer’s physical memory.
It works without any errors in the system and inspects how much memory is processing on your computer system without having a hassle.
Step 1:
You have to Press Windows +R together. Enter “mdsched.exe” and hit the OK button.
Step 2:
After the first step, select the Restart now and check for the option of the problem.

Moreover, the process will start and may take hours to complete. Once the process is completed, follow the on-screen instructions.
Empty Standby Memory in Windows Using RaMMap
RaMMap memory is also used to empty your standby memory along with monitoring memory usage.
Follow the steps to know:-
Step 1:
Right-click on the RaMMap application and select Run as administrator.
Step 2:
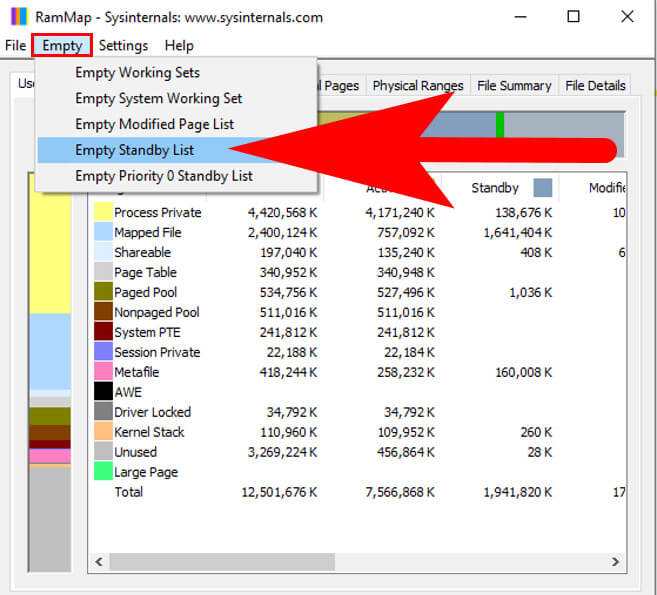
Now choose the empty and then Empty Standby List.
Step 3:
Now, you will find that standby memory should now be significantly lower.
Use Intelligent Standby List Cleaner (ISLC) to Clear Standby Memory
Intelligent Standby List Cleaner (ISLC) is a free tool that Wagnardsoft offers. It will help you to empty your computer’s standby memory automatically.
Step 1:
First, Open a web browser and go to the official forum webpage and Download the ISLC tool by selecting “Official Download Here”. After this, choose the Save File option.
Step 2:
Go to the Downloads folder. You have to right-click on the ISLC 7z archive. Then click on Run as administrator.
Step 3:
A User Account Control window appears on the screen. Click YES on it. After that go to a download folder and Extract the tool.
Step 5:
Right-click on Intelligent Standby List Cleaner to open the menu options and choose Run as administrator from the list.
Step 6:
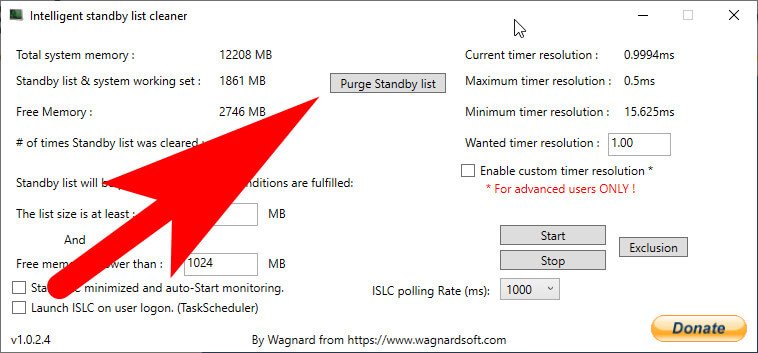
A UAC dialogue box appears on the screen. Select YES and then select Purge Standby list. Change the values for. List size is at least, and Free memory is lower than as per your requirements.
Resolve Windows 10 Memory Leak With FreeStandbyMemory.bat
A freestandbymemory.bat script is a valuable tool, and it is free to download. It helps mitigate the Windows 10 standby memory issue. Follow the below step to know how to fix the windows 10 memory leak.
Step 1:
Firstly, go to the Scripts Pastebin webpage and download the tool to your computer.
Step 2:
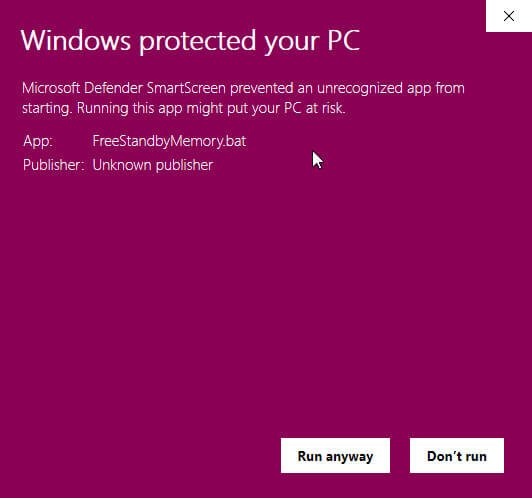
Next, You go to your Downloads folder and Right-click on freestandbymemory to open the menu list options then select Run as administrator from the list. After this choose More info > Run anyway > Yes.
Step 3:
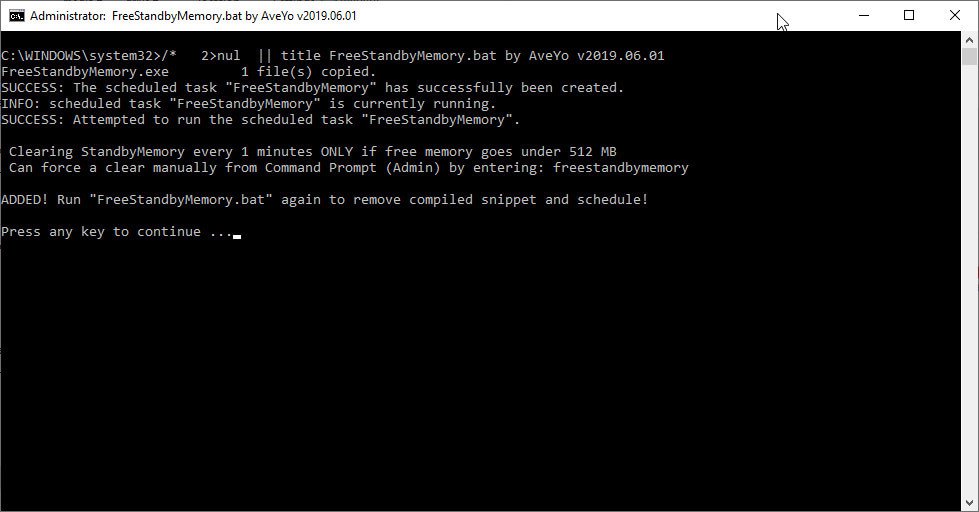
Press any key to continue. FreeStandbyMemory will run as the background process on your PC.
Step 4:
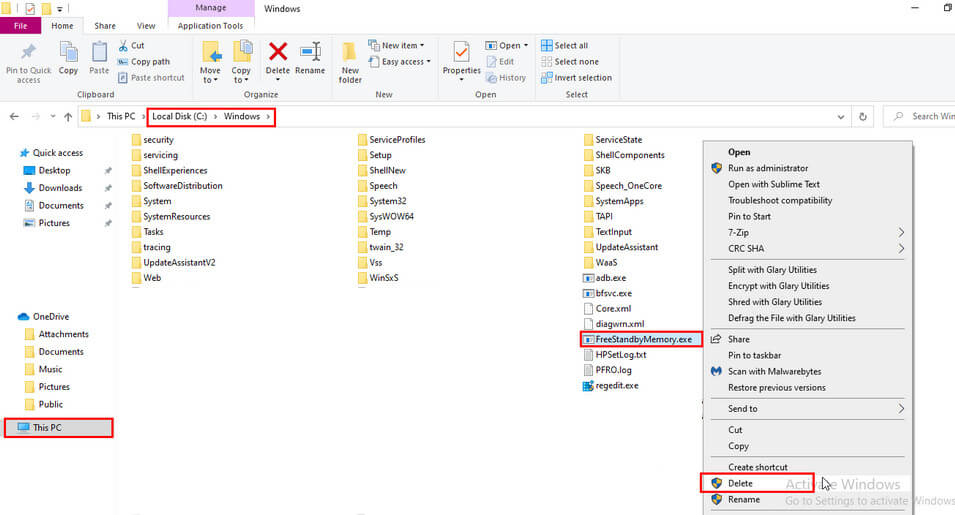
To delete the script. Navigate to the following path This PC > Local Drive C > Windows > FreeStandbyMemory > Delete.
Update Drivers to Fix the Memory Leak
Step 1:
Go to the Start Menu and type Device Manager and open it.
Step 2:
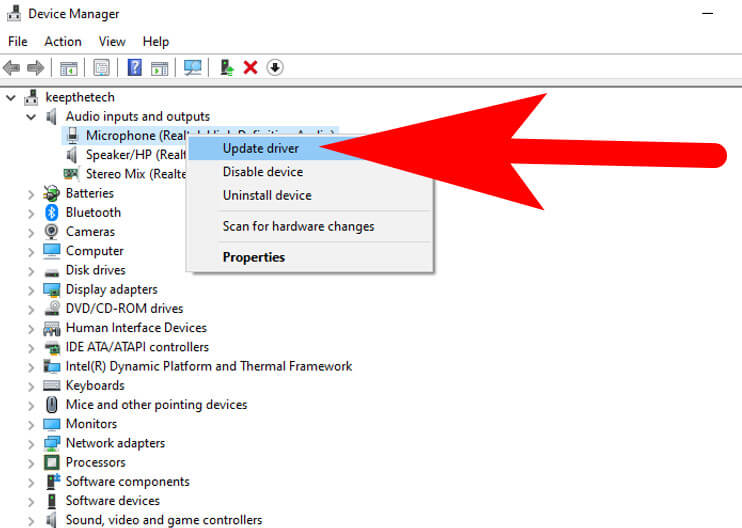
Now in the Device Manager, Go to the Hardware section (Microphone, Speaker etc) and Expand it.
Step 3:
Right-click on a device that you wanted to update. It will open the menu options list from the list select Update driver.
FAQ: Frequently Asked Questions
These are some of the frequently asked questions related to the Windows 10 Memory Leak with complete information.
How do I find a memory leak in Windows 10?
In order to find a memory leak in Windows 10 you need to follow these steps.
1. Press the Windows key+R and typing “mdsched.exe.”
2. Select Restart now and run a troubleshooting check (recommended).
3. The test will commence, and it might last several hours. Once the test is finished, follow any on-screen instructions.
How do I know if my RAM is leaking?
To check for a memory leak, press and hold the Windows key while tapping the Pause/Break key to open System Properties. Check System Resources under the Performance tab to see the percentage of free or available RAM.
Is memory leak permanent?
Memory leaks do not cause any physical or long-term harm. Because it’s a software problem, it’ll slow down your apps or perhaps your entire system. However, just because a program uses a lot of RAM doesn’t automatically indicate it’s memory is leaking. It’s possible that the program you’re using requires that much space.
What happens when memory leak?
By limiting the quantity of available memory, a memory leak affects the computer’s performance. In the worst-case scenario, too much usable memory is allocated, and the system or device stops working properly, the program crashes, or the system slows down dramatically due to thrashing.
What is the main cause of memory leaks?
A memory leak is the slow decrease of system performance caused by the fragmentation of a computer’s RAM as a result of poorly designed or developed applications failing to free up memory segments when they are no longer required.
Alright! readers this is the end of this short guide, Hopefully, you find this short article useful to know how you can easily able to fix the Windows 10 Memory Leak on your own with the help of several methods that are shown in this article.
Moreover, if you have any questions related to Windows 10 or the memory leak, then feel free to contact us.
Related Articles:
The Drive Where Windows Is Installed Is Locked-5 Ways To Fix It
How to Turn Off Scroll Lock – Step by Step Guide
How To Turn Off Pop-up Blocker – Step by Step Guide
Windows 10 Won’t Boot (How to fix it)?
Turn ON Flashlight On Your Phone – Step by Step Guide
How To Make Google Your Homepage (Chrome and Safari)
How To Delete Search History On Instagram
How To Write A Google Review In 1 Mintue
How To Download Instagram Stories [Explained]
How to Install and Use IPTV Smarters
Import Favorites To Edge From Another Computer