
Wondering, howto run PowerShell Script is a Windows 10 command-line tool by Microsoft that enables users to run scripts and commands to automate processes.
It’s a bit like Command Prompt in a sense. PowerShell is a more capable command-line interface (CLI) that offers a wide range of tools and more control and flexibility. In addition, PowerShell can be there on Windows, Mac, and Linux, unlike Command Prompt.
It is just a collection of commands there is a text file (using the unique “.ps1” extension) that PowerShell understands and executes sequentially to accomplish various tasks.
There is only one caveat: the default security protocol will always prevent any scripts from being run.
The result is that on Windows 10 when you double-click a “.ps1” file and try to run it within PowerShell, you will prompt with the phrase “scripts cannot load since scripting is not there.”. Nonetheless, running scripts on your computer isn’t impossible.
Choosing the appropriate execution policy is all you need to do.
PowerShell Language
Microsoft developed this language primarily to automate configurations and actions for system administrators. Object-oriented standards are used, but only Windows environments are supported.
A PowerShell script is typically written in C# code and is part of the .NET framework, though having a working knowledge of C# is unnecessary. PowerShell and Perl are closely related, as both languages are used in similar situations on Linux systems.
Cmdlets are PowerShell functions that are unique to the language. An action cmdlet is capable of returning an .NET object and has one or more defined actions.
Some of the most basic PowerShell cmdlets are those for moving files around and navigating through folder structures.
Where can I find PowerShell ISE?
Any text editor or word processing program can be used to write new PowerShell cmdlets. To make scripting even more accessible and more robust.
The latest versions of the Windows operating system include a tool called PowerShell ISE (Integrated Scripting Environment).
PowerShell ISE may look similar to a command prompt when you open it for the first time. Although the tool does not support writing code.
It has much more functionality. An extensive list of all standard PowerShell modules and cmdlets for system administrators can be found on the PowerShell ISE.
You can test your PowerShell ISE code, identify bugs or issues and fix them with the debugging tool when you tart writing your cmdlet functions. PowerShell ISE is also highly customizable, as are other coding environments.
While writing scripts, users can choose the colour scheme, font, and theme they want. PowerShell environments can only run scripts in the .psi extension created in the ISE.
Getting PowerShell up and running
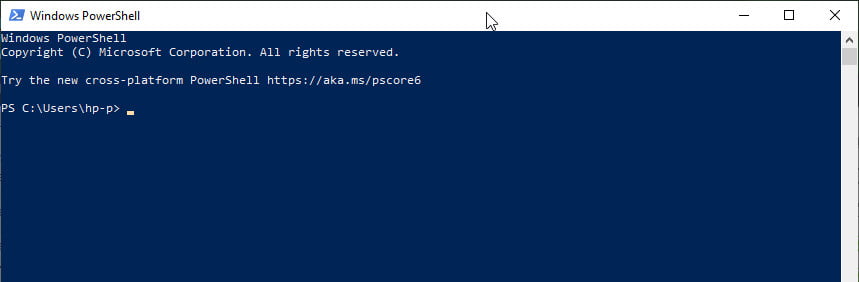
Launching PowerShell from the Windows 10 search field is one of the quickest ways. Type PowerShell in the search field on the taskbar. Choose the ‘Windows PowerShell’ result and click or tap it.
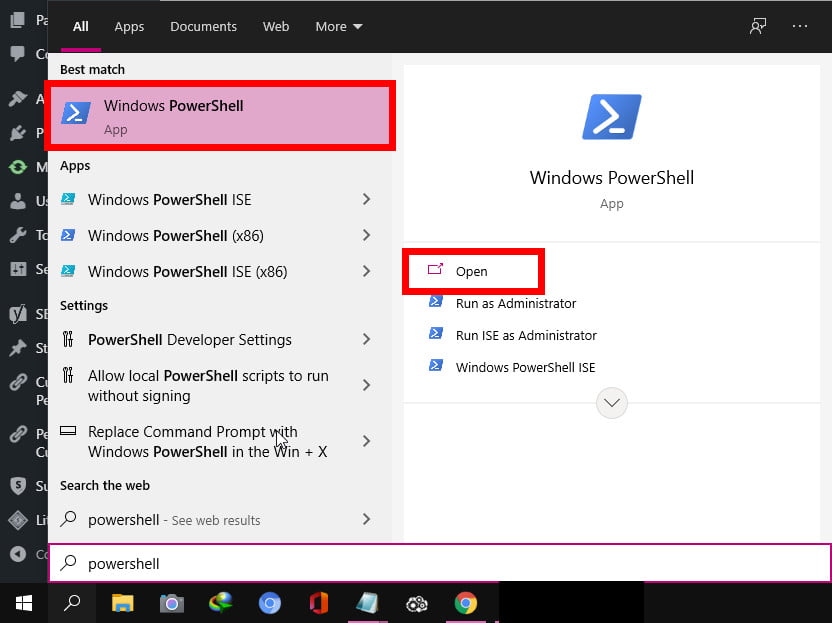
PowerShell can be run as administrator by right-clicking (tap and holding on touchscreens) on the Windows PowerShell search result from the Start menu and choosing Run as administrator.
Other ways of starting a PowerShell console exist PowerShell, but this is an excellent way to start.
PowerShell Features: A Quick Overview
Before reading this guide to PowerShell scripting, take a look at our PowerShell Tutorial. All the PowerShell-related tools are described in that guide. Commands, aliases, help commands, and pipes are included here.
You can begin to write scripts once you’ve learned the basic commands. We also have guides on Input Options for PowerShell, and you can find resources at the bottom of this article if you wish to improve your skills.
We’ll walk you through the steps to create and run your first PowerShell script using Visual Studio Code, Notepad, and the PowerShell Integrated Scripting Environment (ISE).
Windows 10: Creating PowerShell script files
You can create PowerShell script files using virtually any text editor or the ISE console on Windows 10. It’s preferable to build scripts going forward with the PowerShell extension in the Visual Studio Code editor.
With Visual Studio Code, you can create scripts
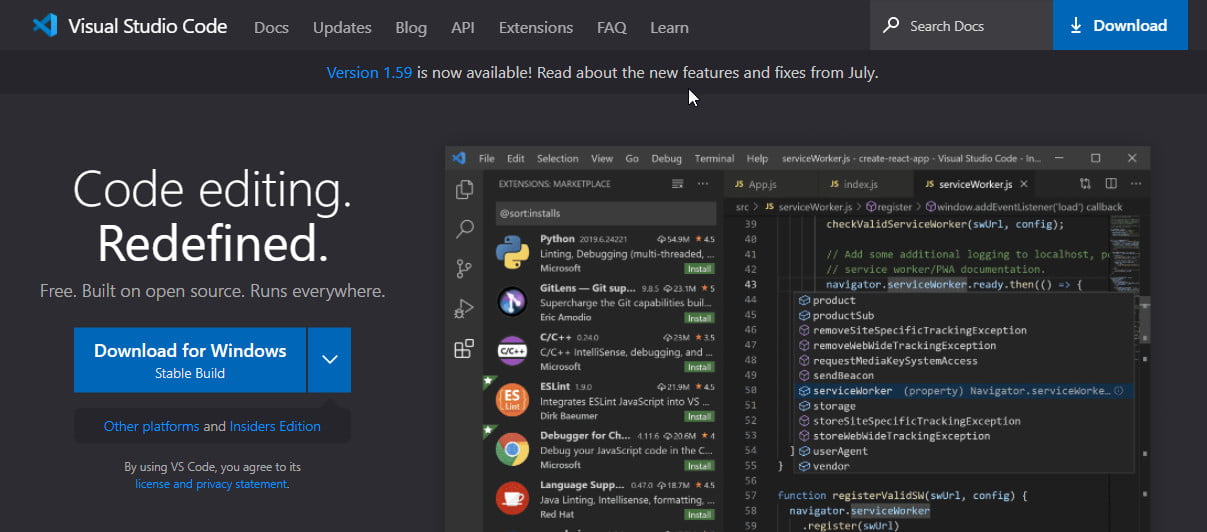
VS Code – also known as Visual Studio Code – is a free and extensible cross-platform code editor that provides an environment for editing virtually any programming language.
Also, in addition, you will be able to use the PowerShell extension to edit scripts interactively, with support for IntelliSense (code completion).
Therefore, it will become the default experience for PowerShell ISE, but the old console will still be available. Still, there are no new features planned for the company, and PowerShell 7 and higher releases aren’t supported.
Download and Install Visual Studio Code
Follow these steps to install Visual Basic Code on Windows 10:
1. Visual Studio downloads can be found here.
2. The installer can be downloaded by clicking on the Windows icon.
3. You can start the installation process by clicking on the downloaded file.
4. Ensure you have a clear understanding of the contract.
5. You will be taken to a new page. Continue by clicking Next once more.
6. One more time, click Next, Confirm any additional tasks that need to be completed.
7. Then click the Next button. To install, click the Install button. After you click the Finish button, you will see the following message.
You can now proceed to install the PowerShell extension after completing the steps.
Add Extensions to PowerShell
VS Code users can install the PowerShell extension using the following steps:
1. You can open VS Code here. On the left, click the Extensions tab.
2. Choose the top result in the search for PowerShell.
3. Click on the Install button.
If you have completed these steps, you can use Visual Studio Code to write PowerShell scripts.
With Visual Studio Code, you can create PowerShell Scripts
The steps for creating a hand with Visual Basic Code are as follows:
1. Go to Visual Studio Code and open it.
2. You can create a new file by selecting New from the File menu.
3. Choose Save as from the File menu.
4. Please specify a name for the script with the .ps1 extension in the “Filename” field – for example first_script.ps1.
5. Save your work by clicking the Save button.
6. You can either write your script or copy it over from your clipboard. For example, Write-Host “Congratulations! Your first script executed successfully” The above script will display the phrase “Congratulations! Your first script executed successfully” on your screen.
7. Run the script by clicking on the Run button (or pressing F5).
8. The file can be accessed by clicking File. Then click the Save button.
Creating Script with Notepad
Following are the steps for creating a PowerShell script using Notepad on Windows 10:
1. Type Notepad on the search bar given next to the start menu.
2. Put your script in the text file, or write a new one.
3. The file can be accessed by clicking File.
4. Choose Save As from the menu.
5. The script’s name should be descriptive. Save your work by clicking the Save button.
Final Words
We hope you have understood everything you need to start with PowerShell scripts from this PowerShell scripting tutorial for beginners.
Performing PowerShell scripts is pretty straightforward once you master all the basics: just make sure that your scripts are there and named clearly. By doing so, you will avoid confusion.
Related Articles:
How To Edit Host File in Windows 10 and Windows 11
How To Password Protect File or Folder in Windows 10
How to Make a PDF Fillable – Step by Step
How to Know if Someone has Blocked you on iMessages
How to Change Admin Name on Mac
How to Change Your Name in Gmail
How to Show Hidden Files on Mac
How to Hide Activity on Instagram
How To Unsubscribe From An App on iPhone
How To Open Docx File In Windows or Mac