How to Use Bluestacks on Windows 11 and later versions
This is a comprehensive article based on the Bluestacks installation guide along with how to use Bluestacks to run Android apps on a Windows PC or Laptop without having a hassle.
You can easily run Android apps on Windows using the software or the emulator. Android is one of the most popular operating systems after iOS. Their tons of Android applications are available for free on Google Play Store that you can easily download and install on your Phone.
But the amazing fact is that you can also run apps on Windows using Bluestacks or similar software. You also carry an Android-running device such as a Smartphone, tablet, or phablet to stay connected to the world.
Android applications play an important role on Android devices currently all Android and iOS applications have millions of businesses along with billions of subscribers.
What is Bluestacks?
BlueStacks is an Android emulator that allows running Android applications on your Windows and Mac machine on full screen on the desktop. Currently, more than 90 million computers use this software on their systems to run apps on the desktop to enjoy apps on fullscreen.
Just like me, lots of people use BlueStacks to play Android games on a bigger screen on a computer using Layercake technology.
Bluestacks Installation Guide
In order to use Android Apps on Windows, you need to download and install Bluestacks for a PC or laptop. If you don’t know how to use Bluestacks then don’t worry at all we have also covered that topic in this article.
But first of all, you need to know how to download Bluestacks for Windows 10 or later versions of Windows including the latest version of Windows 11.
Follow the below step-by-step instructions to install BlueStacks on your Windows in a simple way.
First of all, you need to Download BlueStacks on your Windows from its official website. The size of the Bluestack size is 527 MB. Make sure you download the latest version of the Blackstacks 10 for Windows.
Once you visit to the official website of Bluestacks, simply click on the Bluestacks 10 in order to download it. The Bluestacks Installer.exe will be downloaded into the web browser and you need to launch it. In order to begin the installation.
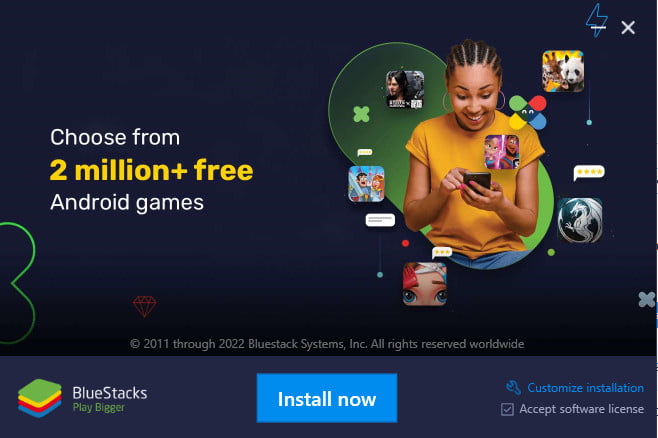
Simply, click on the Install button to start the bluestacks installation it may take a few minutes to complete it totally depends on your internet connection and network speed. Because the file size or setup of Bluestacks is around 527 MB.
Once the installation is fully completed. Bluestacks application will automatically launch, in case if the application doesn’t start automatically you can also launch it from the desktop icon or using the Start Menu.
Now you need to log into your Google Play Account using the Bluestacks. In order to use download and install Android apps into Bluestacks. Simply enter your Google account login credentials to select the login button.
Once you log into your Google Play Account you’re all set to install Android apps using the Bluestacks on your PC.
How to Install and Use Android Apps on Bluestacks
After completing the setup of Blustacks on Windows, you can easily able to download and install any Android app from the Google Play Store without having a hassle.
Here are the steps you need to follow in order to download and install the app on Bluestacks.
Launch the Bluestacks from the Desktop icon or Start Menu. If its not running already.
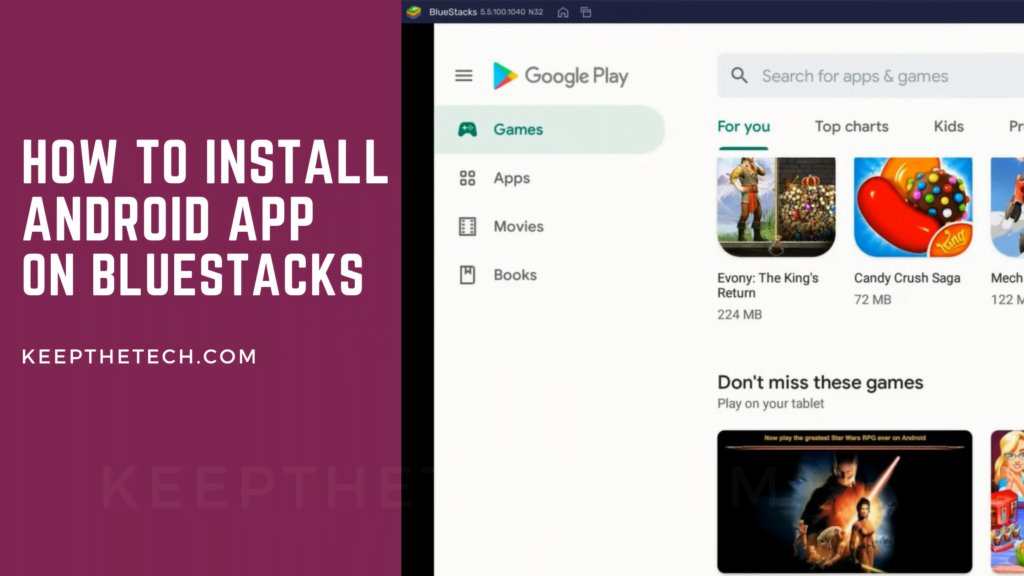
In the Bluestacks dashboard, you need to select the Google Play Store icon in order to launch it.
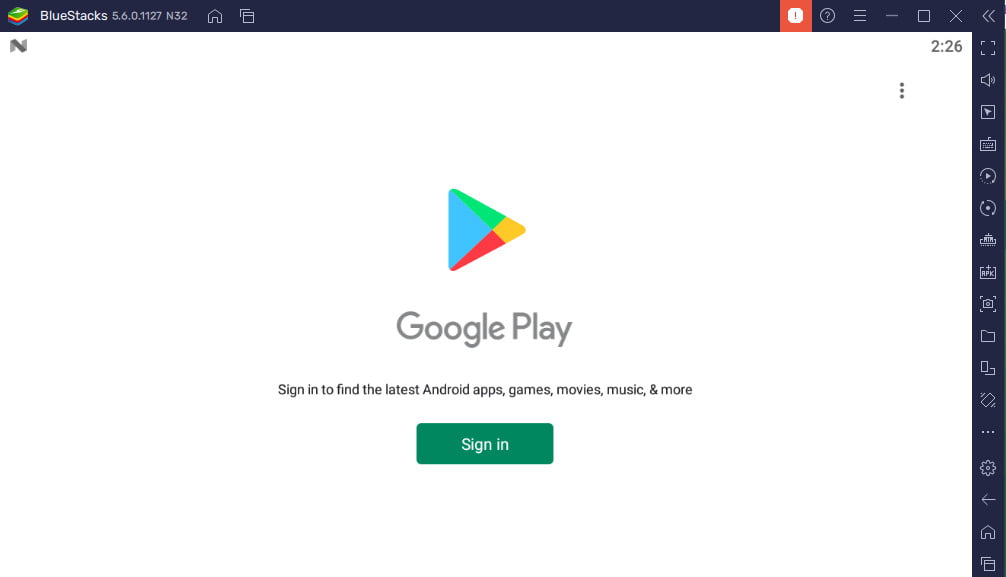
Now, you’ll have to enter your Google Account details such as Email Account and Password in order to get access to the Google Play Store.
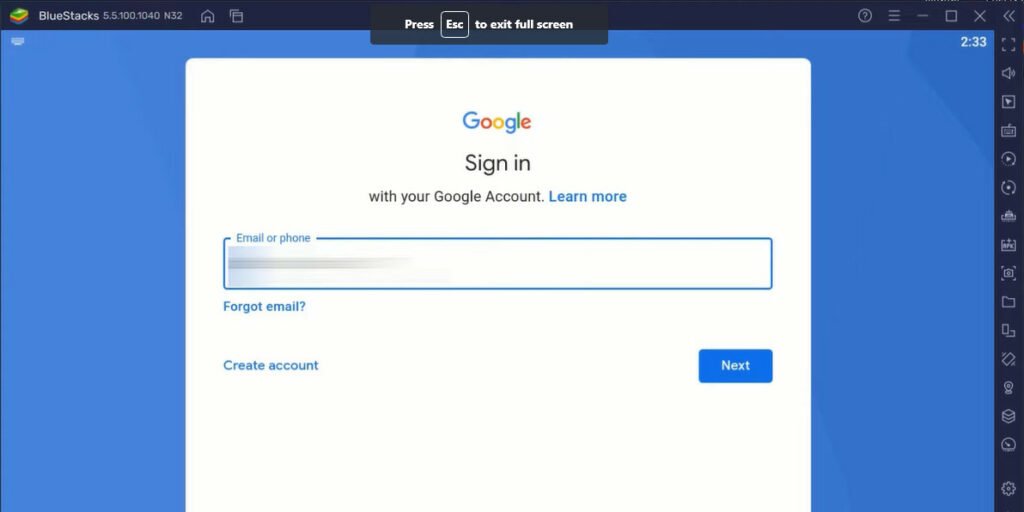
Firstly, enter your Gmail Address and then Password and hit the Sign In button.
Now, you’ll redirected to the Google and Services page.
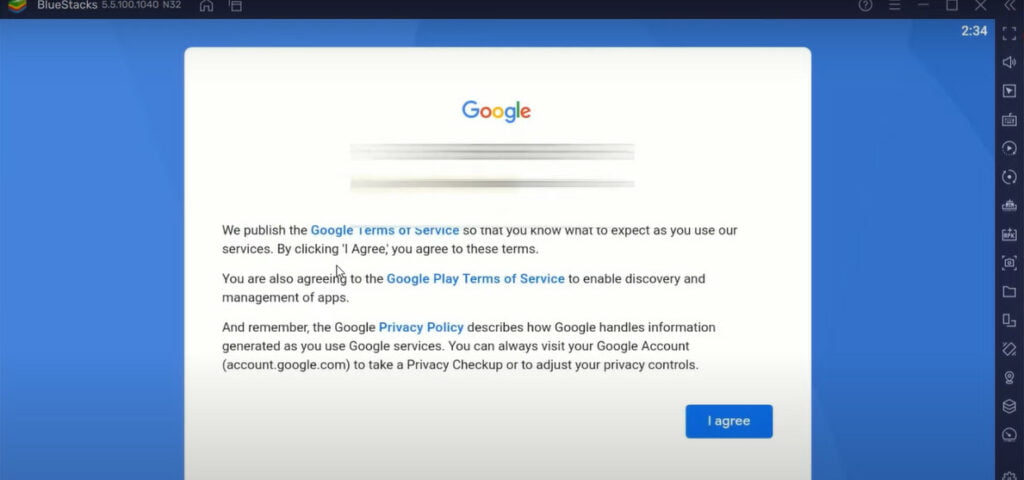
Simply select “I Agree” and then you’ve redirected to the Google Services page where you need to choose “Accept” button.

You have successfully logged into your Google Play Store account and accessed all the Android apps using it.
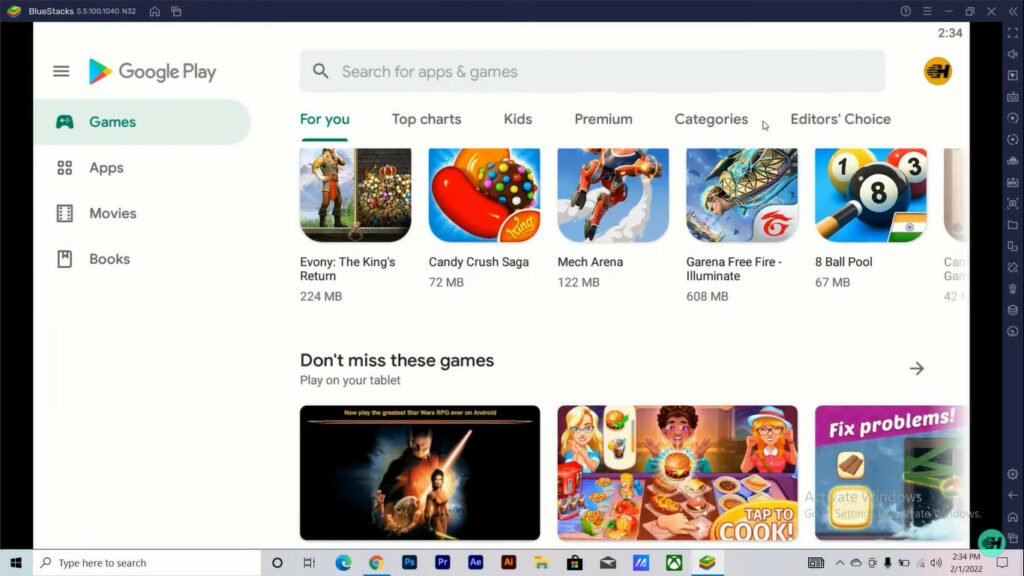
Simply, Go to the Search bar same as the Google Store when you access it on your Phone and enter the name of the application. For example – CandyCrash
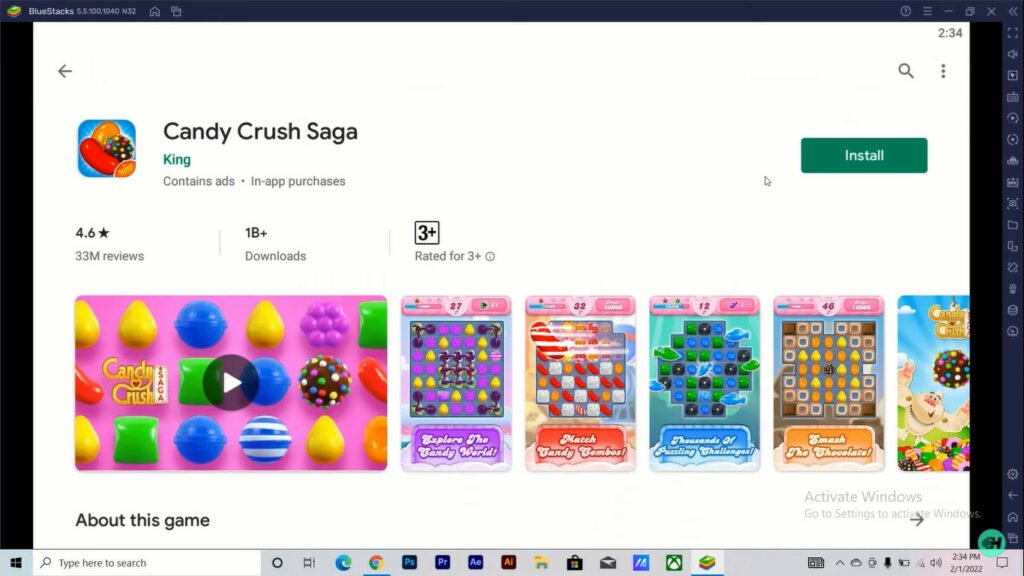
Choose the “Install” button and wait until the app is downloaded and installed.
You go to the Bluestacks dashboard launch the app and enjoy.
Requirements To Use Bluestacks
In order to run the latest version of Bluestacks on a PC you need the following things on your computer or laptop.
- Windows 7 or the newest version such as Windows 11
- Up-to-date Graphics Card Driver.
- Intel or AMD high-end processor.
- Minimum 2GB of RAM
- Minimum 5GB of Storage space.
Recommended Requirments For Bluestacks
- Windows 10 or the newest version of Windows 11.
- Updated Graphics Card Driver with NVIDIA
- Intel or AMD 4 to 8 cores processor.
- 8 GB of RAM works perfectly with Bluestacks.
- 5GB to 10GB of Storage Space with SSD.
Does All Android Apps Work with Bluestacks
No, there are lots of Android apps that do not support Windows, macOS or the Web-based equivalent. However, with the help of Bluestacks, you can easily able to access hundreds of applications on your Windows PC without having a hassle.
There are lots of features that you can avail with Bluestacks such as you can open multiple Android apps in new tabs at the same time. You can also Multi-Instance Mode which allows you to run multiple instances of a similar application.
This is the end of this short guide, hopefully, it is helpful for you.
Related Articles:
Windows 10 Start Button Not Working? Troubleshooting Guide | Fix Windows Stop Code Errors | The Application Was Unable To Start Correctly (0xc0000142) Error on Windows | Fix Windows Stuck at “Getting Windows Ready” Screen on Windows 10 | Windows 10 Won’t Shut Down: Why and How to Fix | How To Run Windows Software in Ubuntu Linux | Your Location Is Currently In Use | How To Record A Zoom Meeting on Windows, Mac | Avast Won’t Open Fix It on Windows 10 | How To Create & Run PowerShell Script On Windows