
Flush DNS Windows 10: Stucked with the issues with the DNS Server? Find everywhere the meaning of DNS Cache and how to clear it. Let’s have a great discussion on this topic here. Along with this, we will go on with the discussion on various Cache to be cleared.
What is DNS?
DNS i.e., Domain Name System translation of names of websites into the addresses of IP which only the computer understands. For each of the websites where we want to go, it happens for it.
The website which we visit by the hostname of it, the web browser of it gets the website gets the request of the internet as it cannot be completed till the name of the site converts into the IP address.
Windows appear with the option that stores the DNS server address for speeding up the experience of the browser. Mostly, the ISP, i.e., the Internet Service Provider gives its own kind of DNS server.
It gets specified in the router of its own or in an automatic form it is fetched from the ISP. The internet depends on DNS for maintaining the index of all the websites of the public and the IP addresses of it in the corresponding form.
Understanding the DNS Cache
As we know that there are various servers of DNS in a public form that the network used for speeding up the process of conversion though it has the local copy where the DNS arrives.
As when we visit the website by its domain name of it, the browser is taken with the direction of the DNS server where it gets the IP address of the required website.
The basic function here is for the storage of the location of the web servers which includes the web pages that are used recently.
If the location of any of the web servers gets changed from the before of entry in the cache updates of DNS, then the access will not be there to the given site.
The creation of a record of the given IP address is made with Windows if you want to visit again that website and the information of it is accessed easily. Such records get and make the DNS Cache which is also known as the DNS resolver cache.
What is DNS Flushing?
Flushing the DNS cache means removing all the various entries and also deleting the records of invalid types. It gives the force to the computer for deleting such addresses whenever we get access to them through the websites.
Such new addresses are taken to the server of DNS to the network for its use. We have three ways of flushing the DNS. They are through Windows Command, Command Prompt, and the Windows Powershell.
How to Flush the DNS Cache in Windows 10?
If you have to clear the DNS cache on your Windows 10, then we have three ways for it.
Flushing DNS Cache through Command Prompt
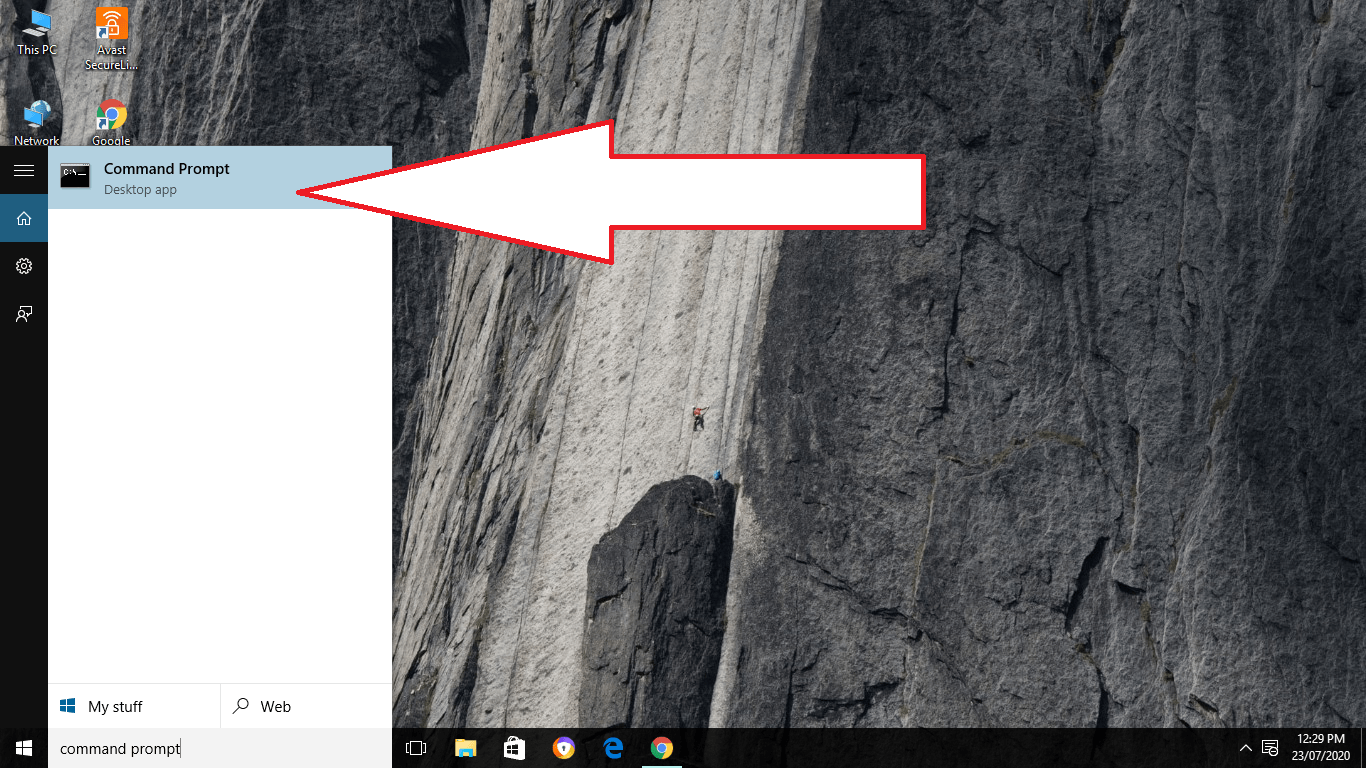
Step 1
Firstly, open Command Prompt as the view of admin. For performing this, type Command Prompt in the search bar. It is located on the down side to the left corner of the given desktop.
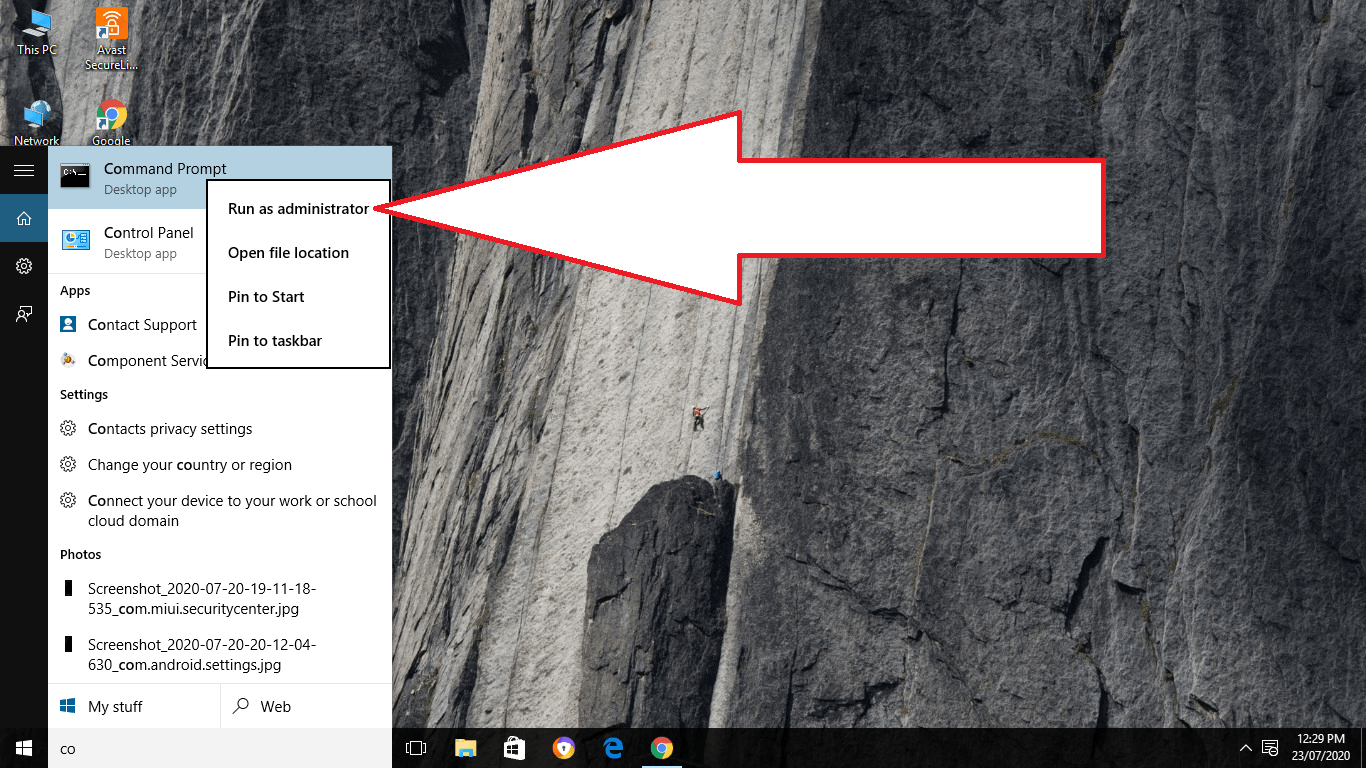
Step 2
The app of Command Prompt will appear on the screen with the search results. After that, do the right-clicking and select the option of “RUN as Administrator “ from the given menu.
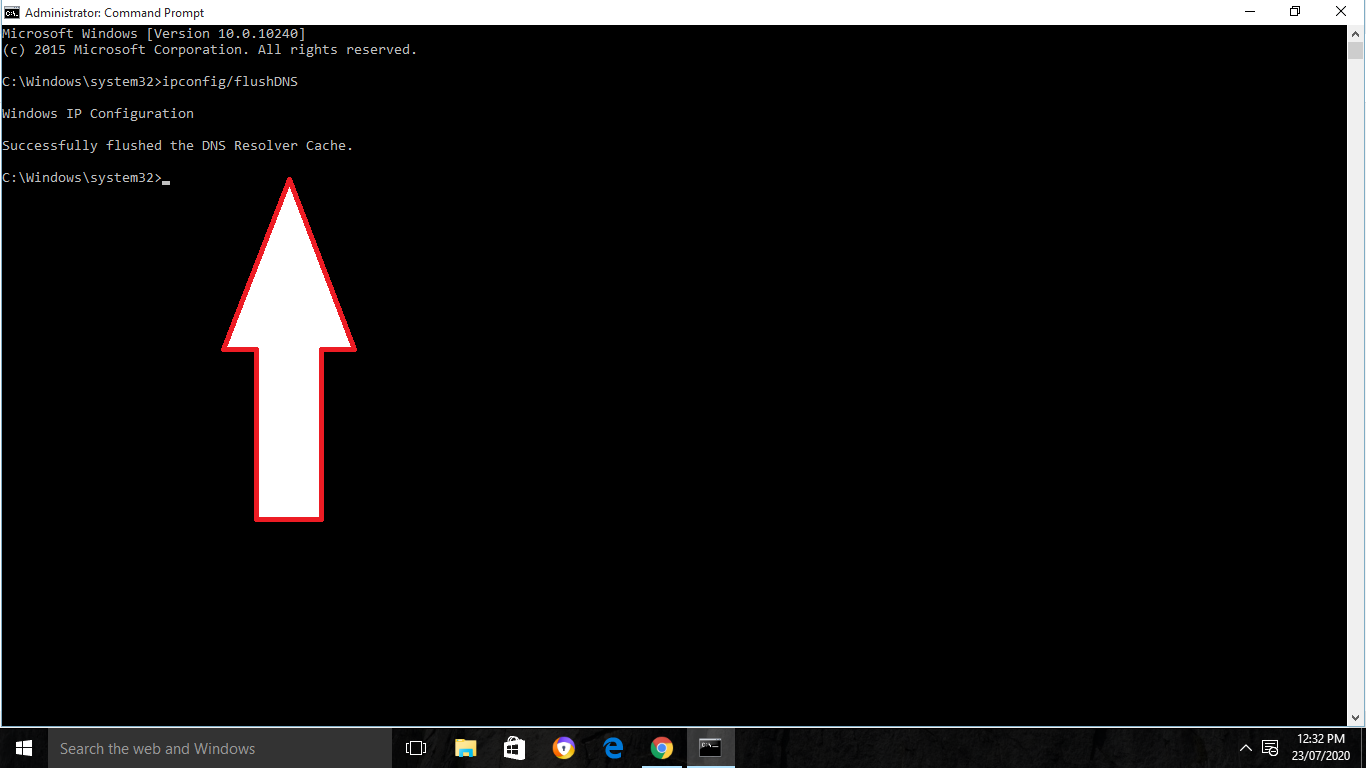
Step 3
Then run the given command on it:-
ipconfig/flushDNS.
Step 4
You will get the message about the successful flushing of the Resolver Cache of DNS.
Flush DNS Cache through Windows Command
Step 1
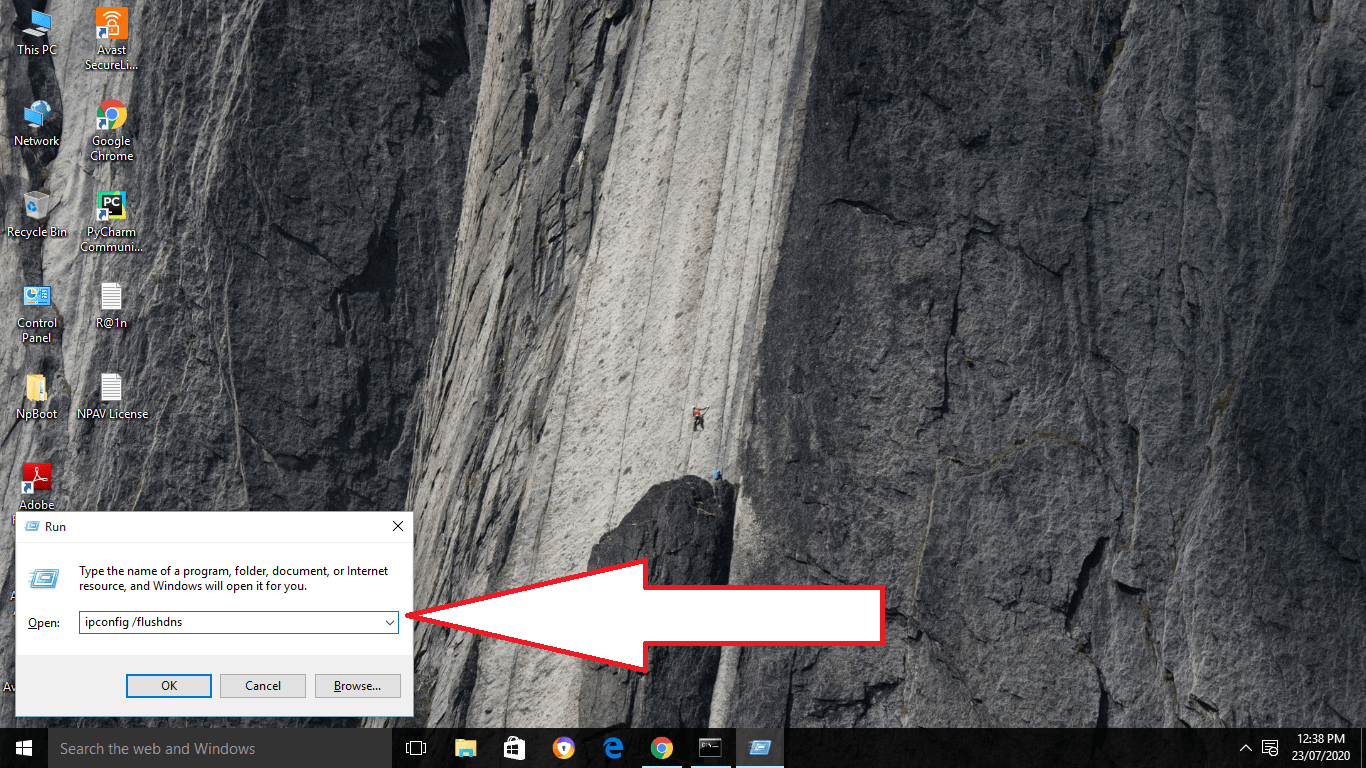
Firstly, hold the Windows key and then click on the R key to open the RUN dialog box on the screen.
Step 2
Now type ipconfig /flushdns and then click on the Enter button.
Step 3
After that, a command box will appear on the given screen and the Resolver Cache of DNS is now cleared on your Windows 10.
Flush DNS Cache Via Windows Powershell
Step 1
Begin with selecting the Start button and then type their PowerShell in the search bar.
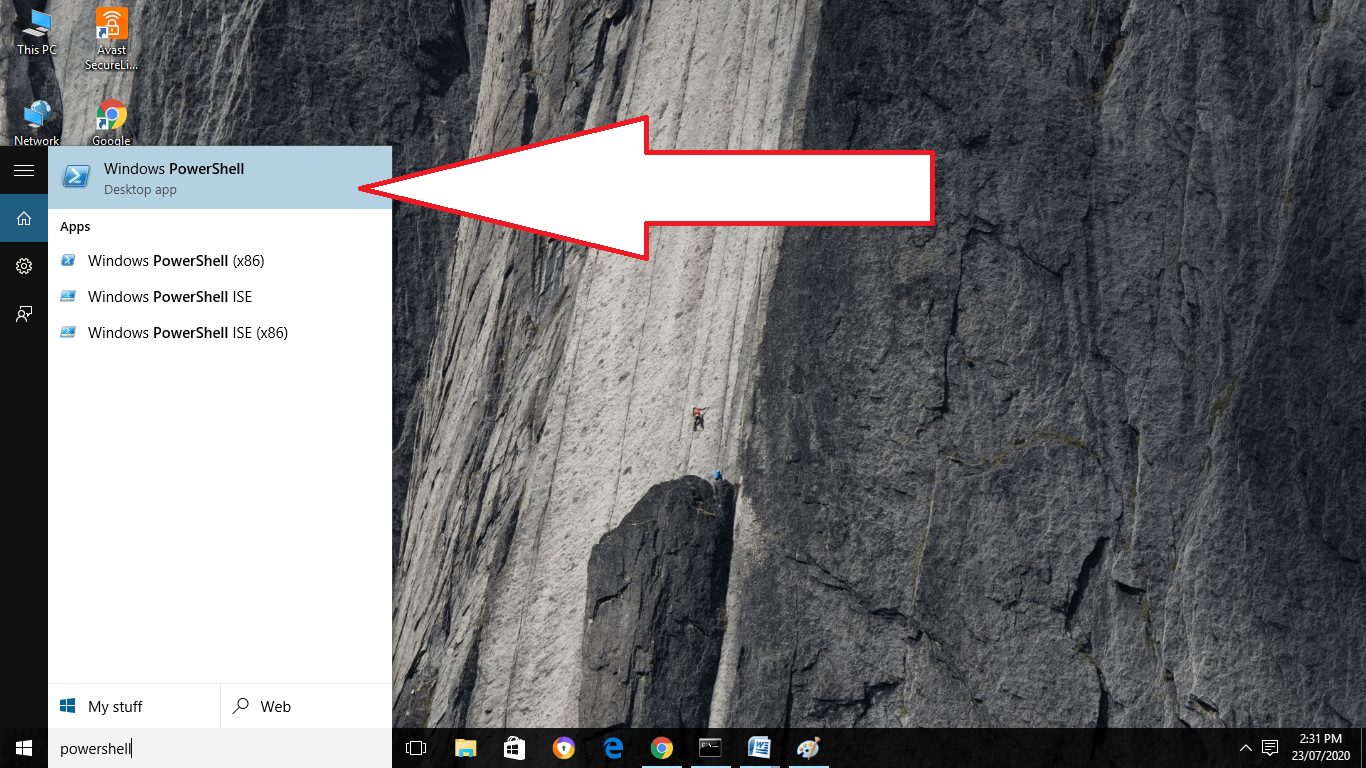
Step 2
Then do the selection of the Windows Powershell from it.
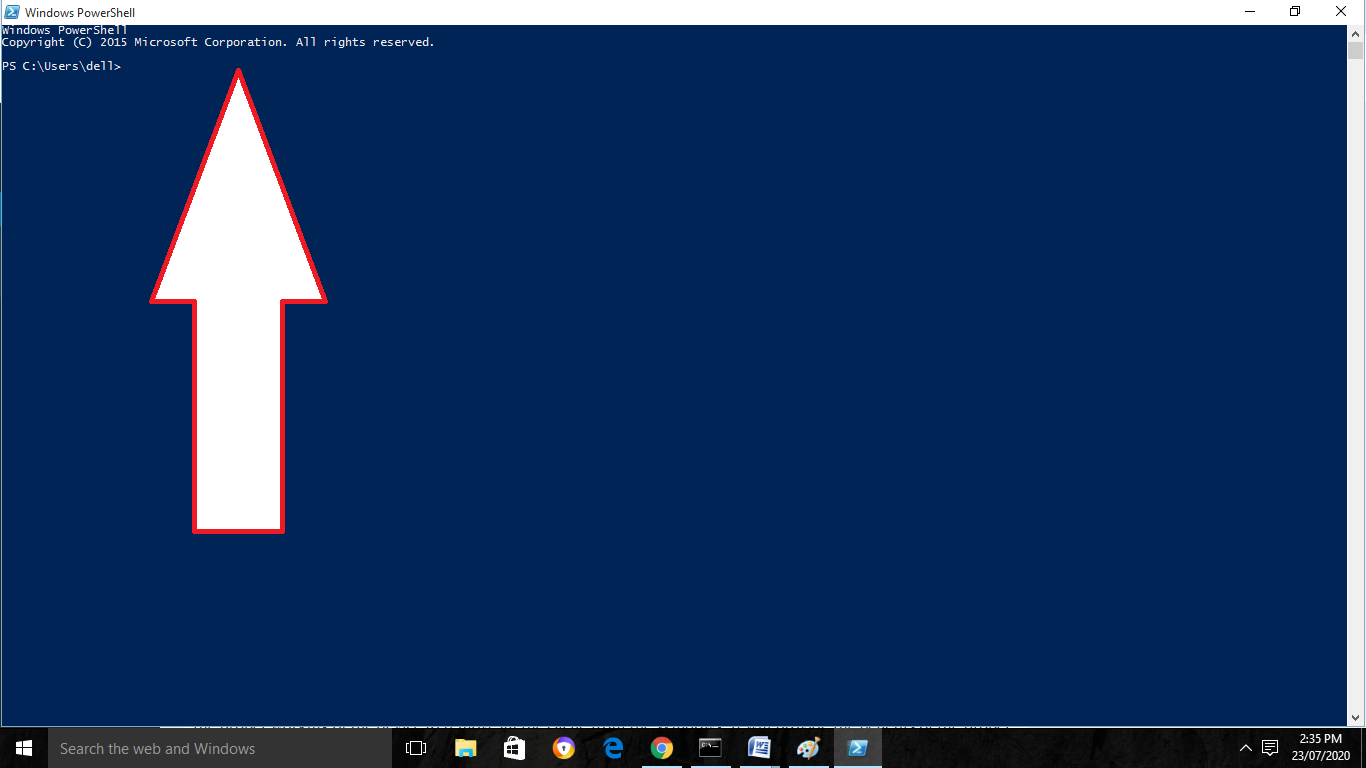
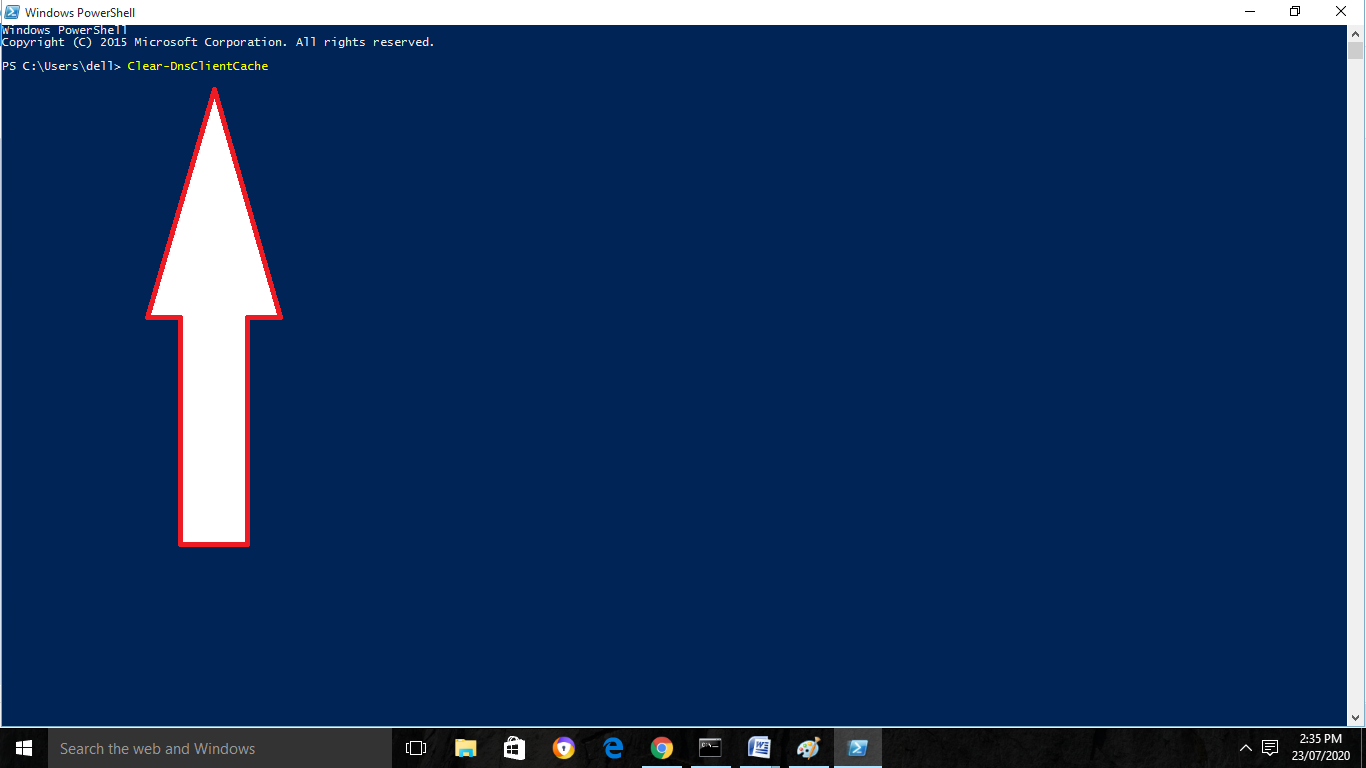
Step 3
Now type Clear-DnsClientCache, and click on the Enter button. Your DNS cache is now flushed from Windows 10.
Other Caches to Flush
Along with the DNS Cache, there are various other caches that you can clear in your Windows 10. It is necessary for the proper working of the device to remove all the cache from the Windows. It will provide the benefits of the proper working of the PC and will also boost it. We have discussed here a few of them.
How to Clear Windows Store Cache
There may occur an issue with downloading the Windows applications on your PC. For that, we have the Windows Store Cache which will flush the cache of the Windows store easily.
Here we have discussed the steps of it:-
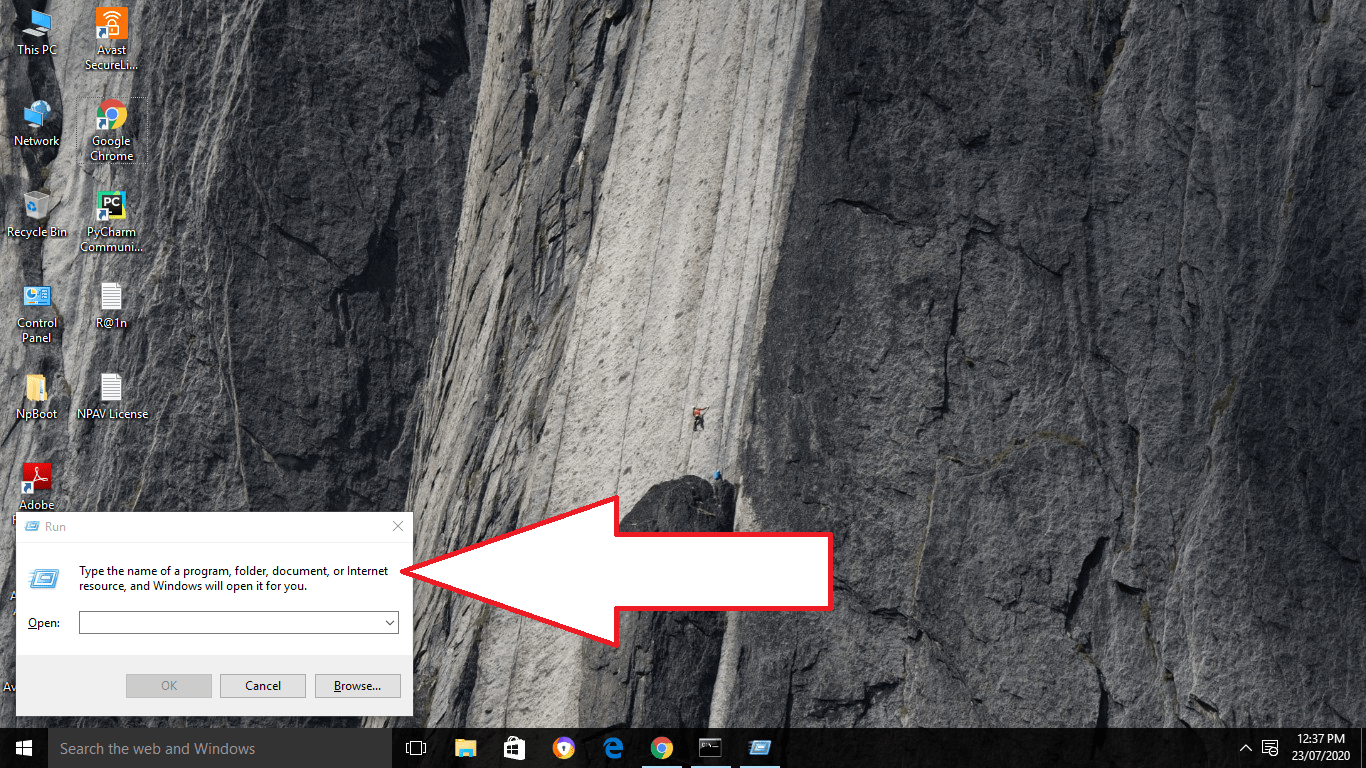
Step 1
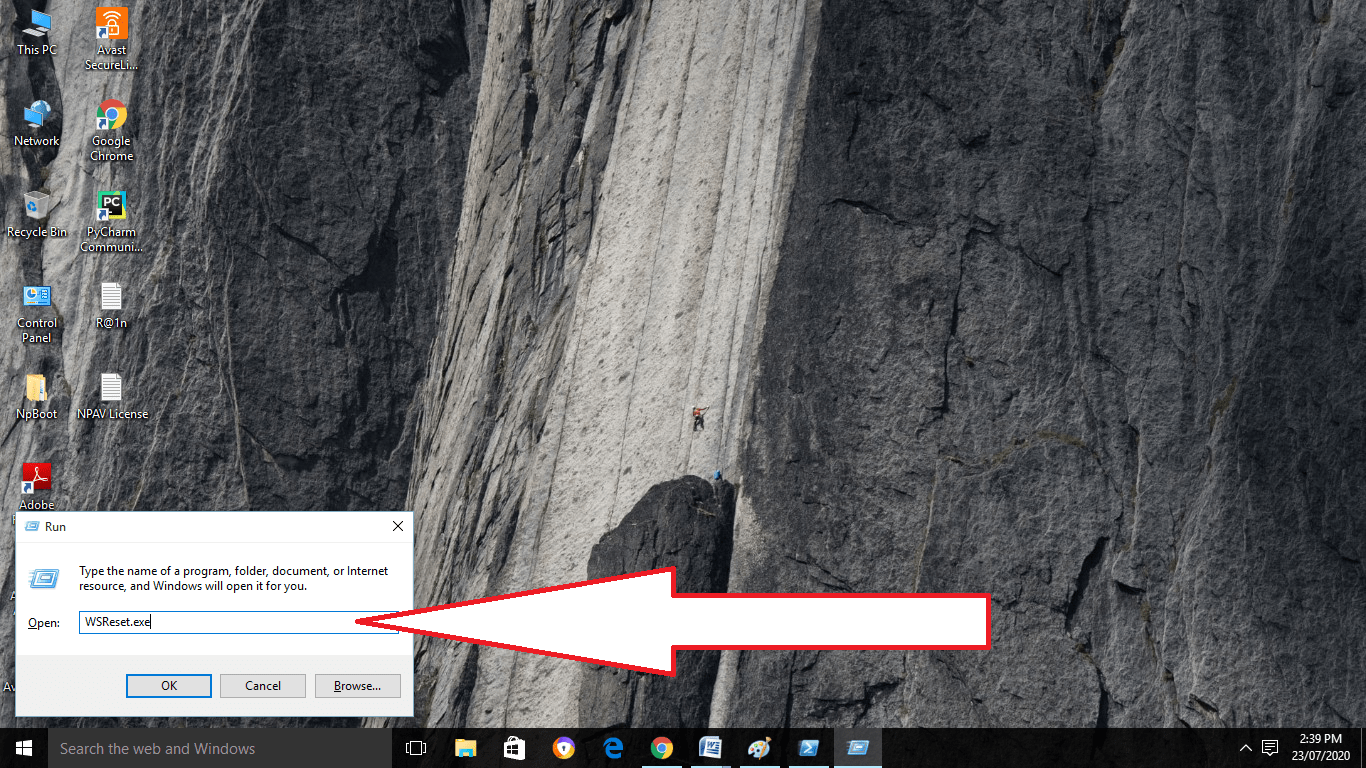
Begin with opening the Run by clicking on the Windows + R keys on the given keyboard. Then the window of Run will occur on the screen.
Step 2
In the given text box, on the right side of Open, type there WSReset.exe and then click on the OK button.
Step 3
After the selection, a window of black color will appear on the screen. You don’t have to perform anything here. Just wait for a while till it clears the cache.
Step 4
As the window gets closed, the cache is now cleared. It will launch the Windows Store.
How to Clear Location Cache In Windows 10
The issue of location happens when you are going through with a new location searching and the screen gets hanging. For that, we have the location Cache to be cleared.
Step 1
For the clearing of the location cache, click on the Windows icon located at the downward side of the corner of the given desktop for opening the Start menu.
Step 2
Now do the selection of the gear icon to open the settings of Windows.
Step 3
The window of Settings will appear on the screen. Scroll the screen and select the option of Privacy from it.
Step 4
It will open the Privacy group of the given settings. In the given pane on the left side, do the selection of the Location. It is located in the section of app permissions.
Step 5
Now in the other window, scroll the screen, and then you will find the group of Location History. From here, select the Clear option which is under the Clear location history on this device as the heading of it.
Issues with DNS Cache
A DNS Cache gets disturbed when the unknown domain names or the various IP addresses are inserted there. The corruption of cache occurs when technical issues happen. Most of the DNS cache is associated with viruses on computers or when other types of network attacks happen which are inserted into the DNS entries in the required Cache.
Such things affect various websites. Due to this, it is necessary to Flush the DNS cache. Each of the processes has the DNS Cache for a similar reason which speeds up the process of resolution.
Final Words
When we will flush the DNS Cache, it will remove all the various entries and will also delete the records that are invalid.
It is really necessary to flush the DNS Cache as it will improve the working capacity of the PC and will give the proper access to it. I hope this article has helped many out there in understanding the topic even better.
FAQ: Frequently Asked Questions
These are some of the frequently asked questions related to the flush DNS windows 10.
Is it legal to clear the DNS cache?
Sweeping the DNS server will eliminate any invalid addresses, regardless they are out of date or have been modified. It’s also worth noting that flushing the cache has no negative consequences.
Related Articles :
How to Use Bluestacks on Windows 11,10,8,7
Windows Stop Code: How To Find and Fix
Getting Windows Ready: How To Fix