
This is a step-by-step guide based on how to enable remote desktop Windows 11,10 and 8 without having a hassle.
What is a Remote Desktop?
In simple words, the Remote Desktop Protocol (RDP) is a program or feature that allows users to easily connect to another computer from another location. In Microsoft Windows, the remote desktop or remote access comes with the pre-install apps and you only need to enable or disable it when you want to connect to another computer.
The Windows Remote Assistance is allowed through a Windows secure firewall so that it can connect with other computer users. Remote access is helpful in a lot of fields but mainly it’s used for setting up SSL certified and communicating with other computer users to set up a server.
Microsoft gives complete control in remote access to the local server on personal computers. When you going to enable remote access you can select if you want the connections from any version of the computer which is less secure and you can also add some selected users to access your computer’s remote desktop by adding the lists of trusted users.
There are also some risks in enabling remote access such as each time you open a port or allow a program to communicate through a Windows firewall, your computer becomes a bit less secure The more allowed programs or open ports your firewall has, the more opportunities there are for people Access your files, or use your computer to spread malicious software to others.
Enable Remote Desktop In Windows 11,10,8,7
To connect with another computer you need to enable the remote desktop program on a Windows PC or laptop. Here in this short guide, we are going to show you how you can easily enable or disable the remote desktop feature on different versions of Windows operating systems without having a hassle.
Follow the below given step-by-step instructions in order to know how you can enable remote desktop on Windows 11, 10, 8 and 7. Moreover, in this article, we are going to cover the topic of using Windows 11 but you can simply follow these steps on older versions of the Windows operating system in order to enable remote desktop features.
Generally, there are multiple ways to enable remote desktops on Windows and in this guide, we are covering all the methods by which users can enable remote desktops.
Enable Remote Desktop Using Settings
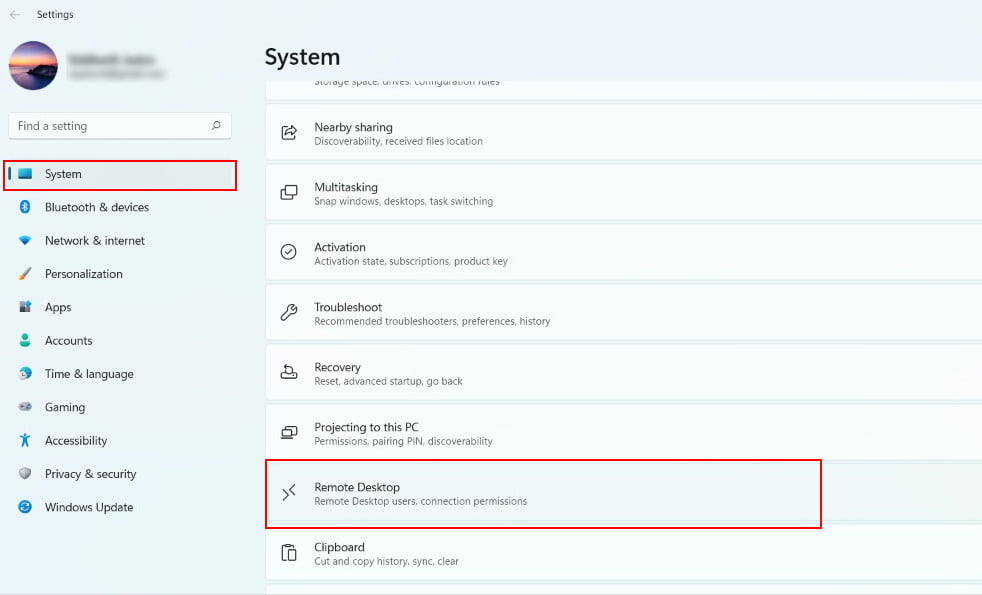
- Press the Windows + I keys together to open Settings and then go to System from the given options.
- Now scroll down the System window and from the left sidebar select “Remote Desktop.”
- Under the Enable Remote Desktop section simple toggle to turn it “On” or “Off. Choose the Confirm in the popup window.
Enable Remote Desktop Using System Properties
The Windows user can also enable Remote Desktop using the System properties, Follow the below-given step-by-step instructions in order to enable remote access in Windows with system properties.
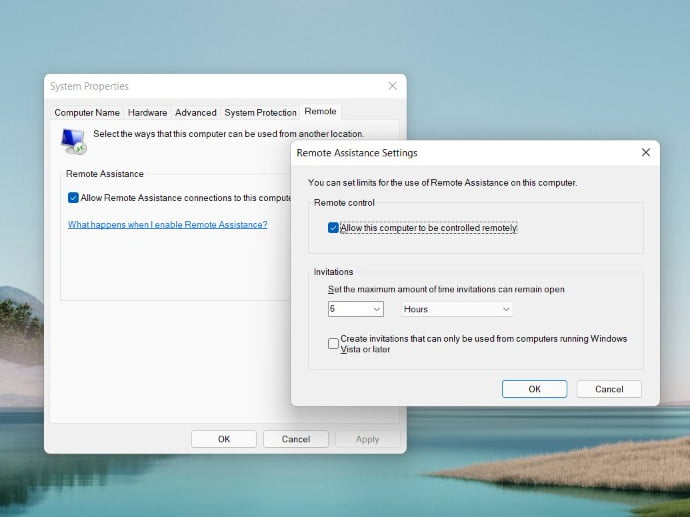
- Go to the Search Bar given next to the Start Menu type “View Advanced System Settings” and open it.
- In the System Properties window, Go to the Remote tab and simply choose Allow remote connections to this computer given under the remote desktop section. Make sure you check the box of Network Level Authentication for better network security during a remote connection.
- Hit the OK button to save changes.
Use Remote Desktop App To Connect To Another PC
As we said earlier there are multiple ways to remotely connect your computer with another on Windows. This is the third method in which you can use the Remote Desktop Universal App to establish a remote connection with two computers.
Follow the below given step-by-step instructions in order to learn how to use the Remote Desktop App on Windows 11 and Windows 10.
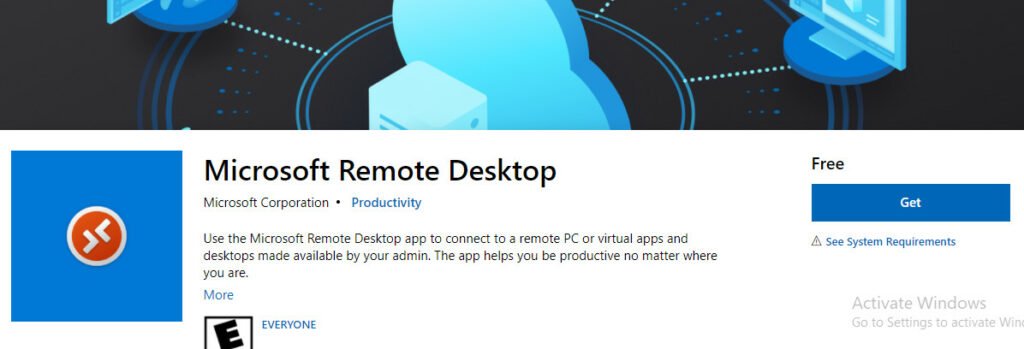
- Go to the Start Menu and open Microsoft Store. After that search for Remote Desktop App and hit the “Get” button to install it.
- Once the Remote Desktop App is installed, open it using the desktop icon or Start Menu.
- Now, type the name of the computer or device (hostname / IP address) and choose the “Connect” button.
- Enter the username and password used for the PC to make the connection. Make sure you check the box of remember password to avoid entering login details again.
- The security message will pop pop-up, select “Connect Anyway” and check the box to not remind me again.
Use Third-Party Utility To Enable Remote Desktop Connection
You can also use third-party apps in order to enable remote desktop connection with other computers. There are some best remote desktop applications available on the web for free of cost that you can use without having a hassle.
List of third-party remote Access Applications for Windows.
- TeamViewer
- Join.Me
- Chrome Remote Desktop
Here this guide will show you how you can use the TeamViewer program to gain remote access to other computers or laptops in no time.
Follow the below-given step-by-step instructions in order to learn how to use Teamviewer for remote connection between two PCs or laptops.
- First of all you need to download TeamViewer app from its official website for both computers.
- Once the TeamViewer is downloaded you need to install it into both computer system
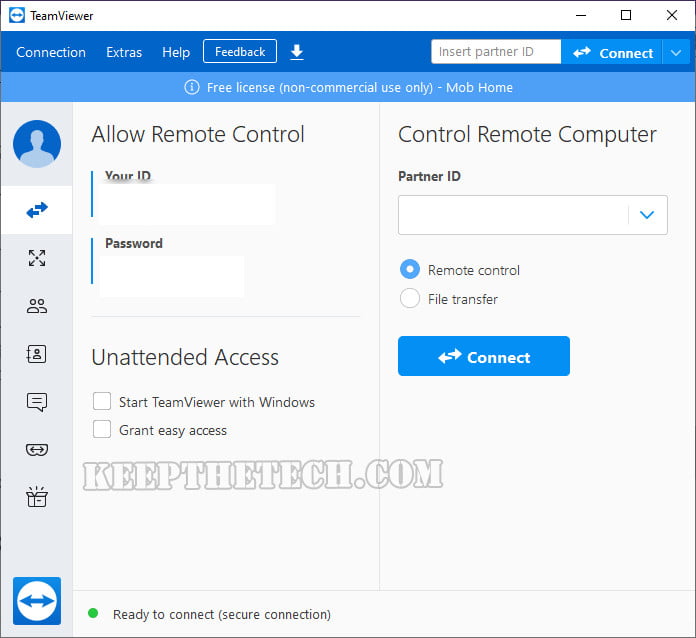
- Launch the TeamViewer application from the Start Menu or desktop icon on both PCs.
- Now, enter the Partner ID and password shown from one Teamviewer app to another.
- Enjoy remote connection.
Tip: Make use of the Teamviewer app your computer must be connected to a stable internet connection to avoid connection drop issues.
Boost Your Network Security When You’re Connected Remotely To Another PC
When you enable remote access to your computer then your computer is an open book for computer geeks to steal personal information with some passwords.
You can protect your computer from malicious threats by using one of those openings to spread a worm. To decrease the risk of a data breach from your computer you have to do given below two things
Only allow a program or open a port when you really need to, and remove programs from the list of allowed programs or close ports that you no longer need.
Never allow a program that you don’t recognize to communicate through the firewall.
This is end of this short guide, hopefully you find it helpful.
Conclusion
If you want to enable remote programs on your personal computer or local service I recommend you to use the best network security provider Antivirus and Always tune on network firewalls.
which reduces the risk of data breach attacks. If you enable Remote access for generating CSR certificate for SSL overload then in this case don’t allow other computers to connect your local server.
Related Articles:
How To Edit Host File in Windows 10 and Windows 11
How To Create & Run PowerShell Script On Windows 10
Dedicated vs Integrated Graphics Card: Which is best for you?
10 Ways To Find and Fix Windows Stop Code Errors
7 Ways To Fix Bad System Config Info StopCode Error
7 Signs You Need to Upgrade Your Graphics Card