How To Shrink A Volume of Hard Drive in Windows

Generally, when you want to create a new partition hard drive in the computer you’ve to shrink a volume to get unallocated space for creating partitions.
In Windows 7, Vista, Windows 8 and Windows 10 there was a built-in program called Disk Management that allows the user to shrink the volume and make a partition of hard drive. However, there is also some other usage of disk management.
So you don’t have to use any other 3rd party utility tool to manage the hard drive. To access Disk Management in Windows. Go to Start Menu and in the search box, type “Create and Format Hard Drive” and press Enter button. Disk Management opened up immediately.
Shrink A Volume of Hard Drive In Windows
In Disk Management, first of all select, you’ve to select the partition hard drive form which you want to shrink a volume. In this article, we selected Local C: because there is lot’s free space that can be used to create a new partition.
Step 1 :
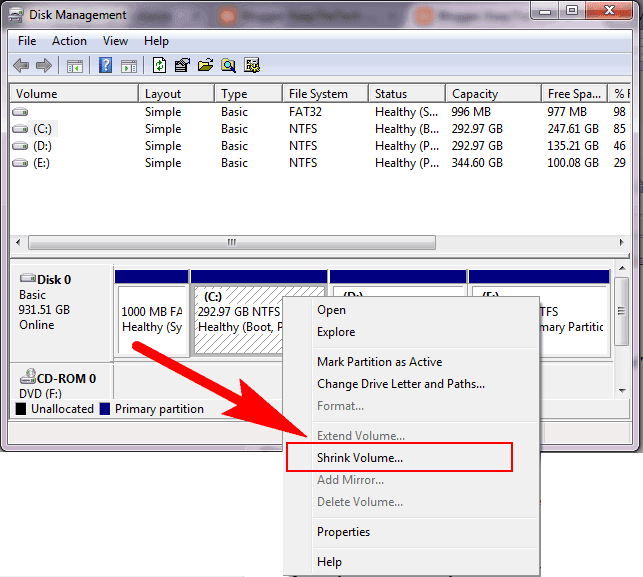
Open up Disk Management, Select the Partition Hard Drive you want to shrink.

Step 2 :
Right, Click on it selected partition then, Select a “Shrink Volume”.
Step 3:
Now here comes the touching part, In Shrink dialog box you have to enter the amount of volume you want to shrink from partition hard drive.

Example: If you want to shrink your 60GBs Partition by 10GBs so that will be 50gb in the box you must enter 50000 next to the “Enter the amount of space to shrink in MB”.
Step 4 :
Click on Shrink.