How to Take Screenshot in Windows 7
Taking screenshots in windows is both not easy also not much difficult. It takes several forms of required methods to be kept in mind for doing it. You can either use the shortcut of the keyboard or also in an automatic way of full-screen taking of screenshot will require.
The versions of Windows support the running in Windows 7 which will take the tool of snipping and print option at the keyboard for taking of screenshot of the screen. You can also make the custom one which will enable a surface selection that will be both equal and effective for the user.
How to Take Screenshot in Windows 7
Well, there are multiple methods from which you can easily able to capture screenshot on Windows 7 without having a hassle. Such as using a spinning tool or using the default screenshot capturing shortcut button. In last you can also use third-party tools to capture screenshot without having a hassle.
Use Windows Default Settings to Capture Screenshot
1. Firstly, select the screen of which you want to have a screenshot. Before taking of it, you have to see that no form of difficulty has been made therefor opening of the programs or any other form of windows.
2. You have to find the print screen (Prt sc) option that is available on your keyboard. It is mostly seen given on the right side of the upper form showing the number pad of the requirements of the system of it. It is given as the PrtSc way or it can be the same as often.
3. Press the Windows + Prt SC button together at the same time by doing this, you will take the screenshot of the screen as the screen will dim at that moment. If the settings display is disabled at that moment, then there will be no dim on the screen. It will be due to not of an update of your windows 7. Keep trying by pressing the ctrl, win, print screen keys together.
4. Now you have to find the screenshot which you have taken under the Screenshot folder of it. It is shown in the pictures folder of your laptop. It will show as per the number given to it.
Use the Snipping Tool
Microsoft Windows comes with an default tool to capture screenshots or we can say capture limited screenshot. The tool that we are talking about it Snipping Tool you can easily able to find it using the search bar given next to the Start Menu. Moreover this tool allows you to edit and crop limited screen picture. In case if you wanted to capture half screen of an program then you can use this tool.
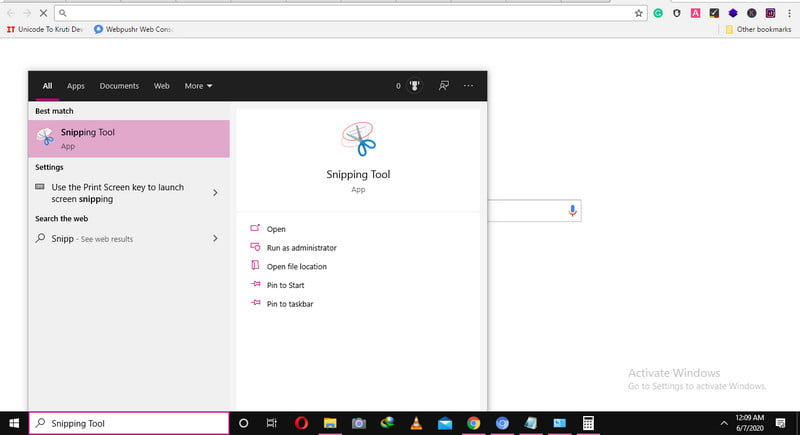
1. Go to the Start Menu and search for “Snipping Tool” and open it.
2. Click on the New button to start the tool. Now go to the screen that you wanted to capture and hold and press the right click on the mouse and move to the end of the screen that you wanted to capture and then release the mouse key.
3. Now you can use the Snipping tool to edit the captured screenshot.
Third-Party Screen Capture Tools
There multiple free or open source screenshot capture tools were available on the web. Such as FastStone Capture we recommend to use because of its simple to use interface for capturing live screen on Windows. With these third-party tools you can get advanced features that allows you to make changes into the captured screenshot. Such as adding the names or color frame, adding multiple images into the screenshot and much more, changing the size of the screenshot etc.
Related Articles: