How To Add, Remove and Rearrange Windows 10 Action Center
If you upgraded your computer or laptop with new Windows 10 then you find a unified place for all system notifications and quick access to different settings yes you heard me right Windows 10 Action Center.
If you are addicted to customizing your windows with some classic looks and wallpapers and some different things. Then you have to know how to rearrange the Windows 10 Action Center.
The most popular tool in the latest Windows is “Quick Actions” which allows a user to quickly access some controls including ( Screen brightness, Wi-Fi, Switch on Quiet Hour) and more.
You can bring down this panel and when a user does so, Only four quick actions will appear, but you have to choose which four quick actions have appeared on your screen.
What is Quick Action on Windows 10
Quick Actions are a collection of tiles that provide quick access to commonly used settings and operations (like Wi-Fi connection, or screen brightness). The majority of actions can be customized by simply clicking or touching on the tile. If you right-click the tile, you can get to further settings and options.
Rearrange Windows 10 Quick Actions
In case you want to rearrange or customize the Quick Actions on Windows 10. You can easily able to customize the quick actions by following the below-given step-by-step instructions.
Step 1 :
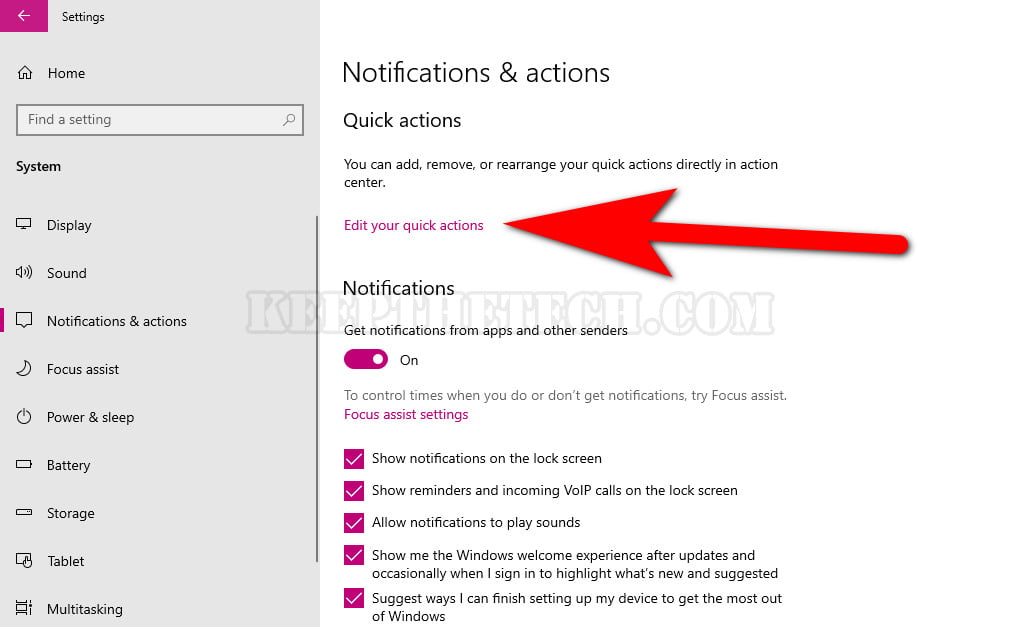
Press the Windows + I keys to access the Setting. After that, you can navigate to the System, and then from the left sidebar select Notification & Actions.
Step 2:
Now under the Quick Actions section, you need to select the “edit your quick actions”
Step 3:
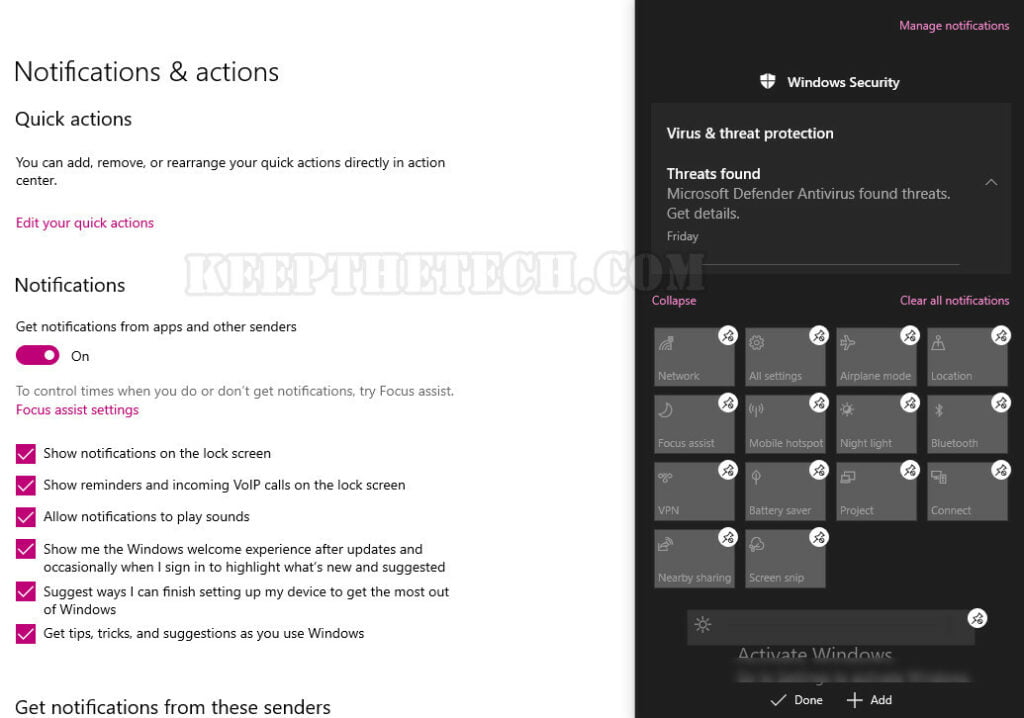
The quick action will pop up on the right side of the screen. Now you can easily customize the quick actions such as add or remove the function and when you’re complete hit the Done button to save the changes.
This is the end of this short guide, hopefully, you find this article helpful.
Related Articles:
How To Password Protect File or Folder in Windows 10