How to Filter in Excel – Step by Step Guide
Wondering how to filter in Excel, While working with spreadsheets where a lot of your data is gathered summarizing all the stuff for some specific work. Of yours, when you want to search a specific data out of it to research something its always tough if you will have to go through 100s of entries.
Then getting to your search and sometimes not getting it even after searching it so much. Filtering is something you totally need. Filtering is a super amazing and super helpful feature of excel that provides you as a user a lot of control over the specific part of your spreadsheets are to be displayed.
It can be used to show the very information that is needed or wanted to be shown or something specific while hiding the rest of the data temporarily. Now for this, it is extremely important that you have a header row because the filtering tools will actually get added to the cells in the header row.
How To Filters in Excel – Step By Step Instructions
Now as an example let’s say you have an equipment checkout log and there are a lot of things to keep track of so you want to use some filters to simplify it.
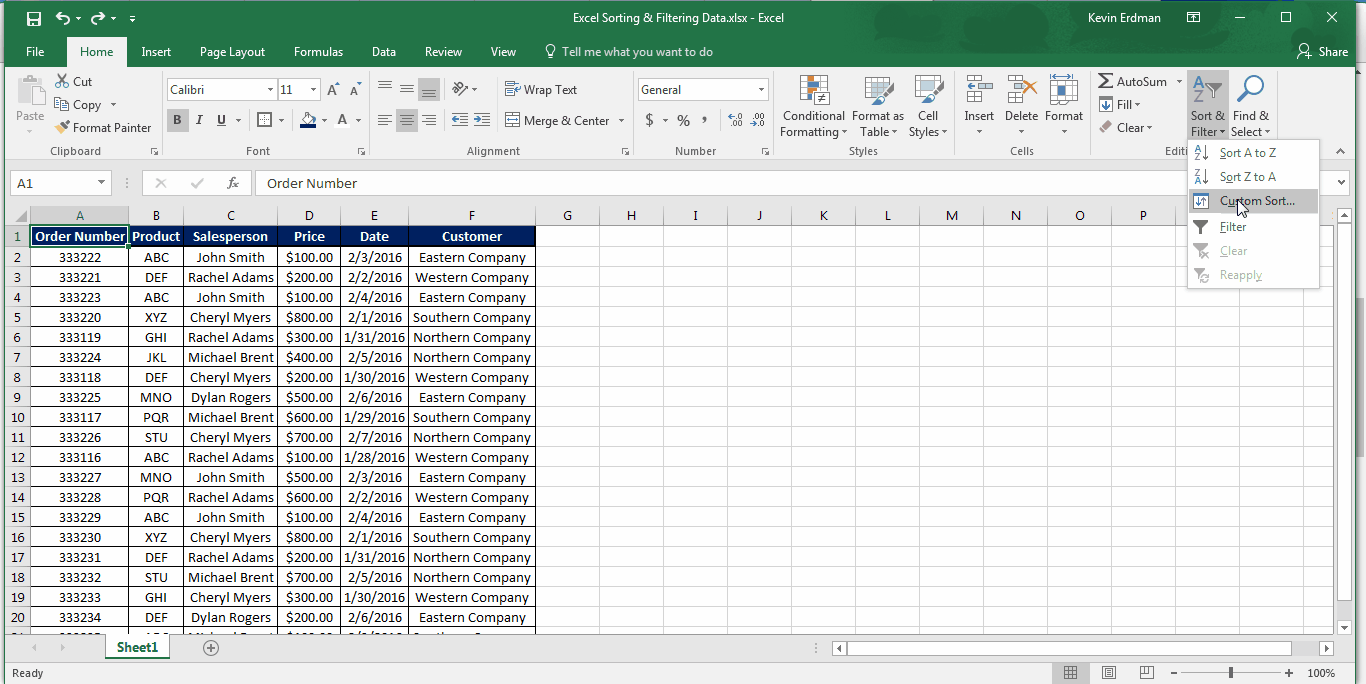
1. Firstly, you gotta go to the Data tab and tap on the ‘filter‘ command and you’ll see , drop-down arrows are added to your header row. These are what you’ll use to access all of the filtering options.
2. Now let’s say there’s a list of n number of values in the column where you’d like to specifically just view the laptops and projectors in the equipment table. Now you got to the search option, deselect everything else and then check for laptop and projectors.
3. Select the OK button and you’ll see that the drop-down arrow that was on your header has been changed to a different icon to show that there is a filter applied to the very column. Now you can narrow down the data even further by adding another filter to a different column.
4. Soon suppose there’s a specific date you want to check the items on, so what you gotta do is again go to the search box and deselect all the months and then select the ones you want and then click on the okay button.
To get rid of any specific filter you just gotta click the icon again and select ‘clear filter’ and that’s how you do simple filtering.
Moving to Some Advanced Filtering
You can also search for values that appear in a specific column, now suppose for the equipment’s. There is a certain company which is appearing a lot of times the list say ‘XYZ’. if you type it in the search box, excel will automatically look for a similar match anywhere in certain columns and then list only the specific company’s results out there.
To apply the filter you just gotta click ‘okay’ button. For a little more control you can use text filters instead you may access it from the same menu under your text filters. Out there you can filter information that fits more specific criteria, like may be say laptop excluding anything that contains a word including laptops and laptop travel bags. Tap on the okay button in excel and refilter the data.
Now this way you will get results for any kind of search you want , you just gotta explain it specifically in the search box and your filter will be applied.
Hopefully this short guide help you to know how you can easily able to use sorting and filtering in Microsoft Excel to save your time and increase the productivity of your work on excel. In case if you have any question regarding Windows Excel then feel free to ask us, we try our best to resolve your quires as soon as possible.
Related Articles: