How to Fix 100 Disk Usage In Windows 11, 10
Here we are going to show how you can take care of 100 Disk Usage in Windows 11 and Windows 10 without having a hassle.
Here we will discuss the application’s functionality and will also tell you about the various issues that are related to it and will look for their solutions:-
What is a 100 Disk Usage?
Most of the time when you’re using lots of programs at a time windows start showing a 100 Disk Usage in Task Manager. However if also happen when some hidden application running on your computer.
This guide is going to show you how you can get rid of the 100 Disk Usage issue on your Windows 11 and Windows 10 PC.
Error included in the 100 Disk Usage
Just like all of the software, various problems are included with the 100 Disk Usage and they bring irritation to the user at the time of updating process.
Users get the issues of 100 Disk Usage and also of Windows has Stopped Working error at the time of installation of updates on the computer.
Fixing the 100 Disk Usage Error
As there are various complaints of the users who are not getting out of the error of stoppage of the working of 100 Disk Usage at the time when they try to update their computers.
It is a recommendation to going through with the process that is solved here for all of the users.
How To Fix 100 Disk Usage In Windows
It is a recommendation to wait for about three to four hours and let the 100 Disk Usage run before trying to remove it. Though if it is not fixing your issue, it is a suggestion to follow the below steps.
Step 1
Firstly, press the keys of Windows + I together to open Settings on the computer.
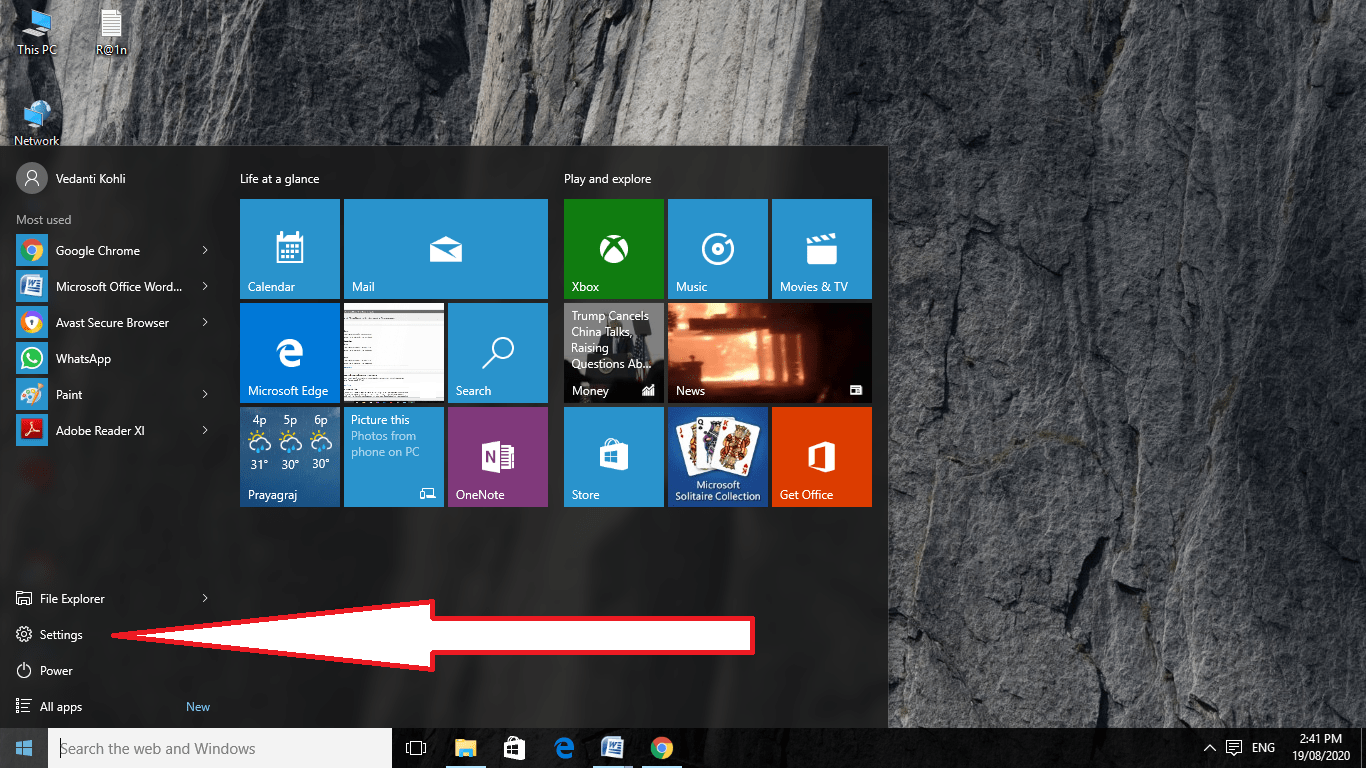
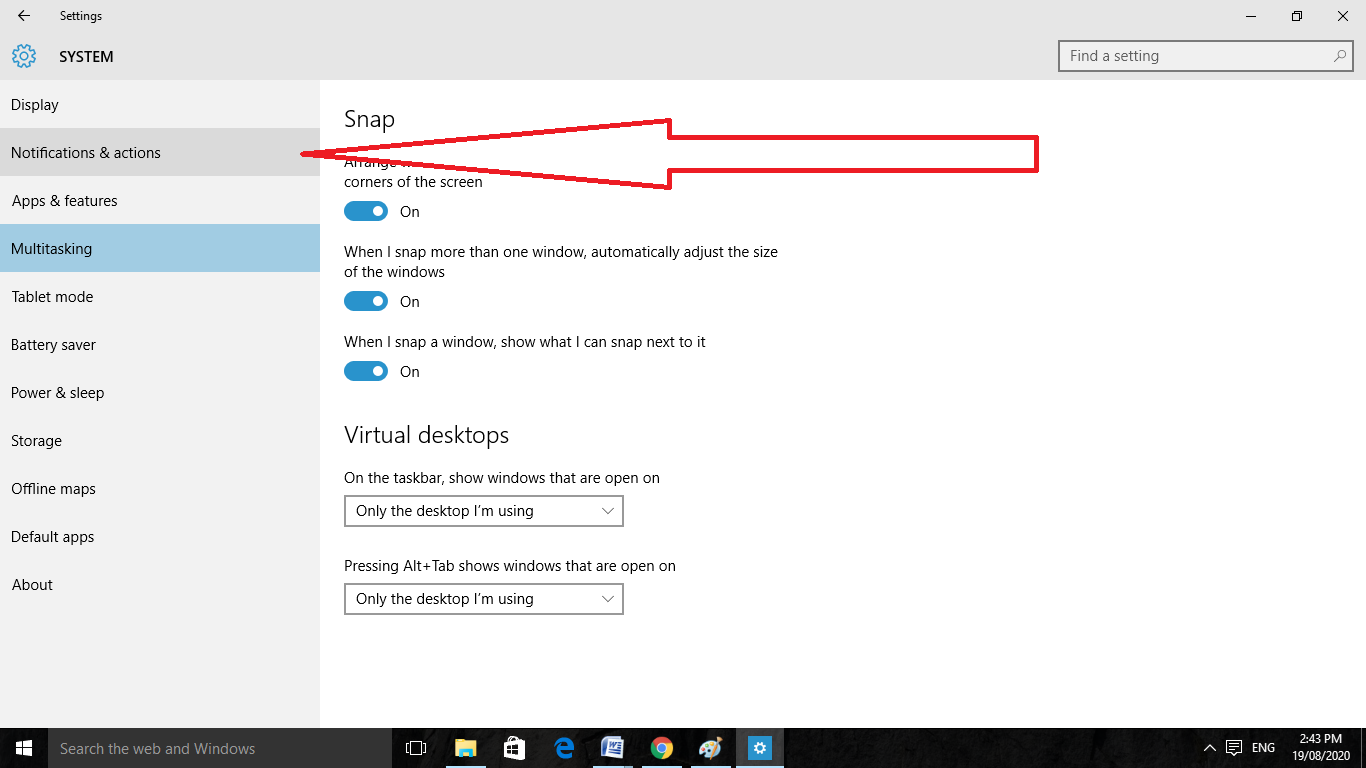
Step 2
Now do the selection of the System and then click on the Notifications and Actions from the given left pane.
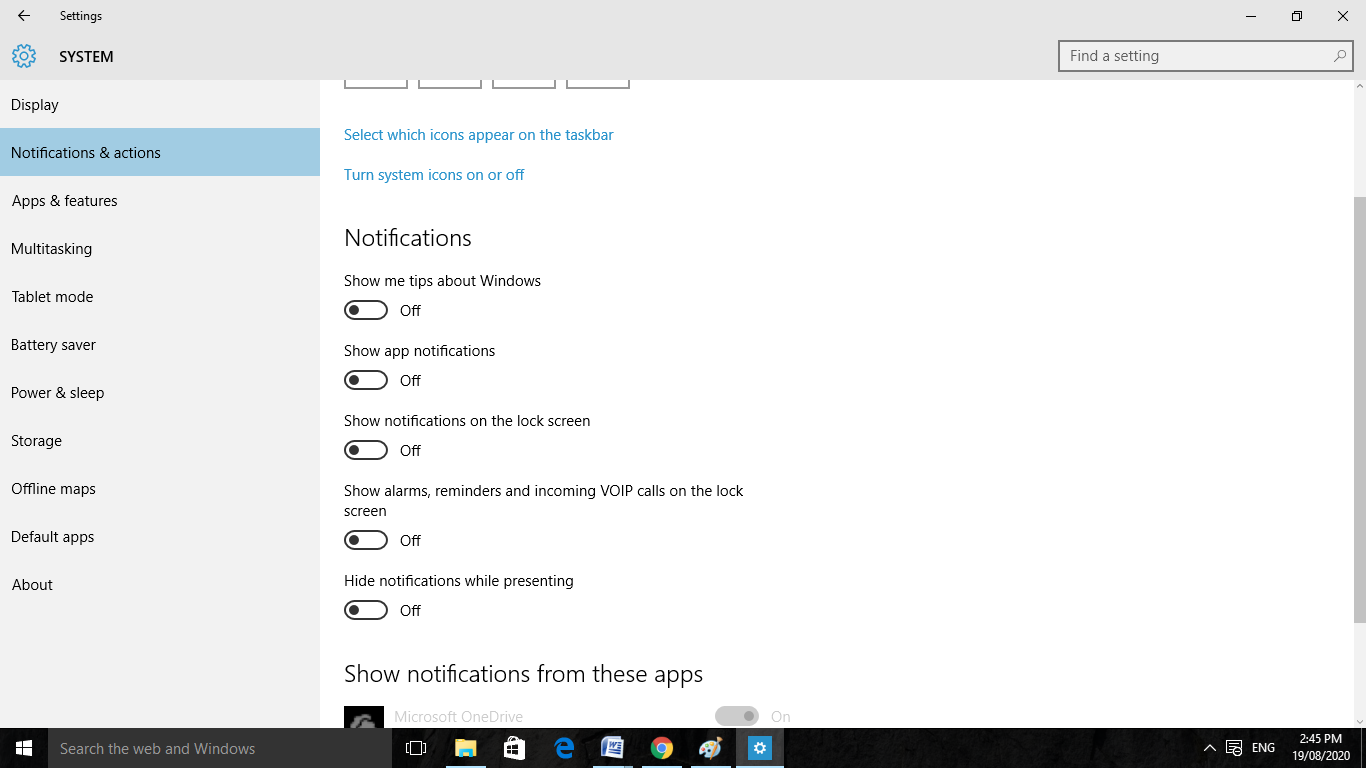
Step 3
Then turn off the option of getting Tips, Tricks, and Suggestions as you use Window by unchecking the given box or by clicking on the toggle.
Step 4
After that, press the keys of Windows + I again and do the selection of the Personalize button.

Step 5
Go to the option of Start from the left side and turn the button off of the Show Suggestions Occasionally in Start.
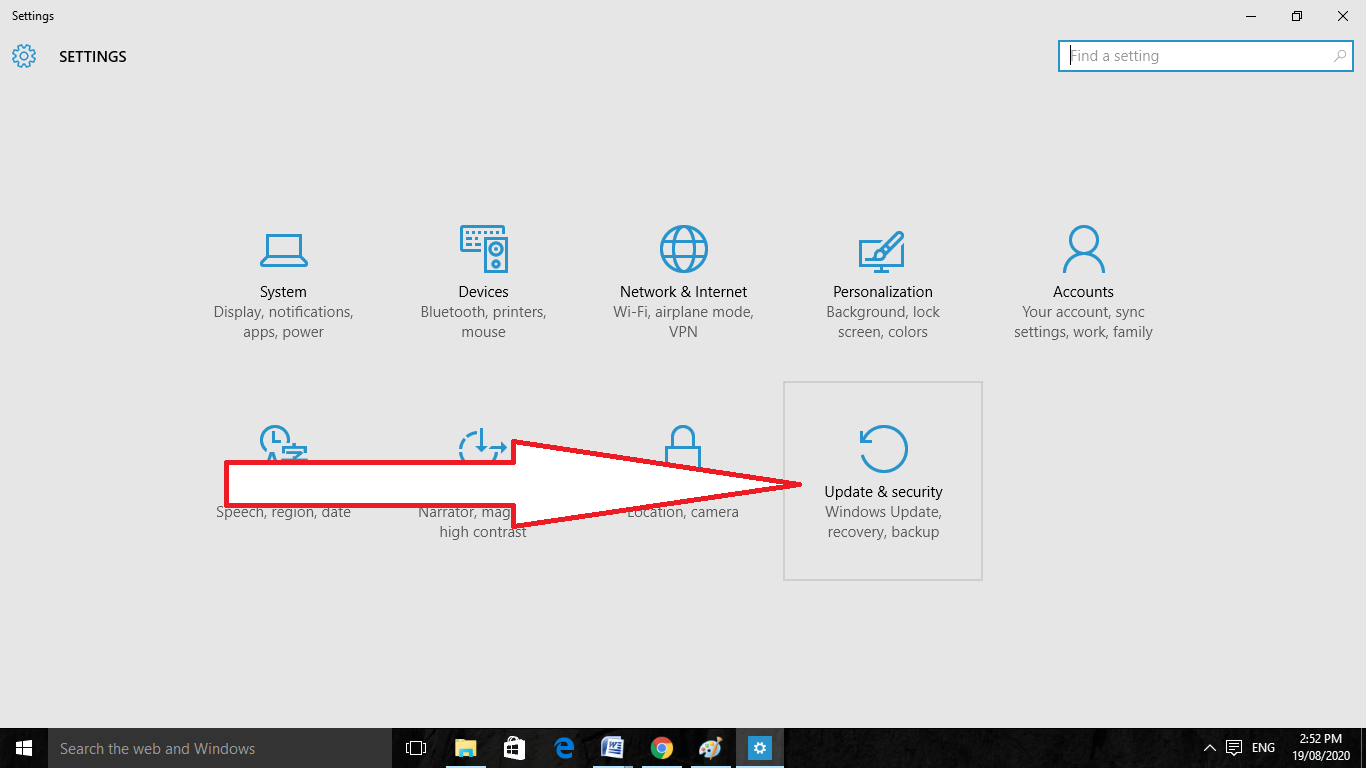
Step 6
Now, click on the keys of Windows + I and do the selection of the Windows & Security option.
Step 7
Then do the selection of the Windows Security from the given pane of the left side and then click on the App and Browser Control.
Step 8
After that, check Off for all the options of three for turning off the Windows Smartscreen.
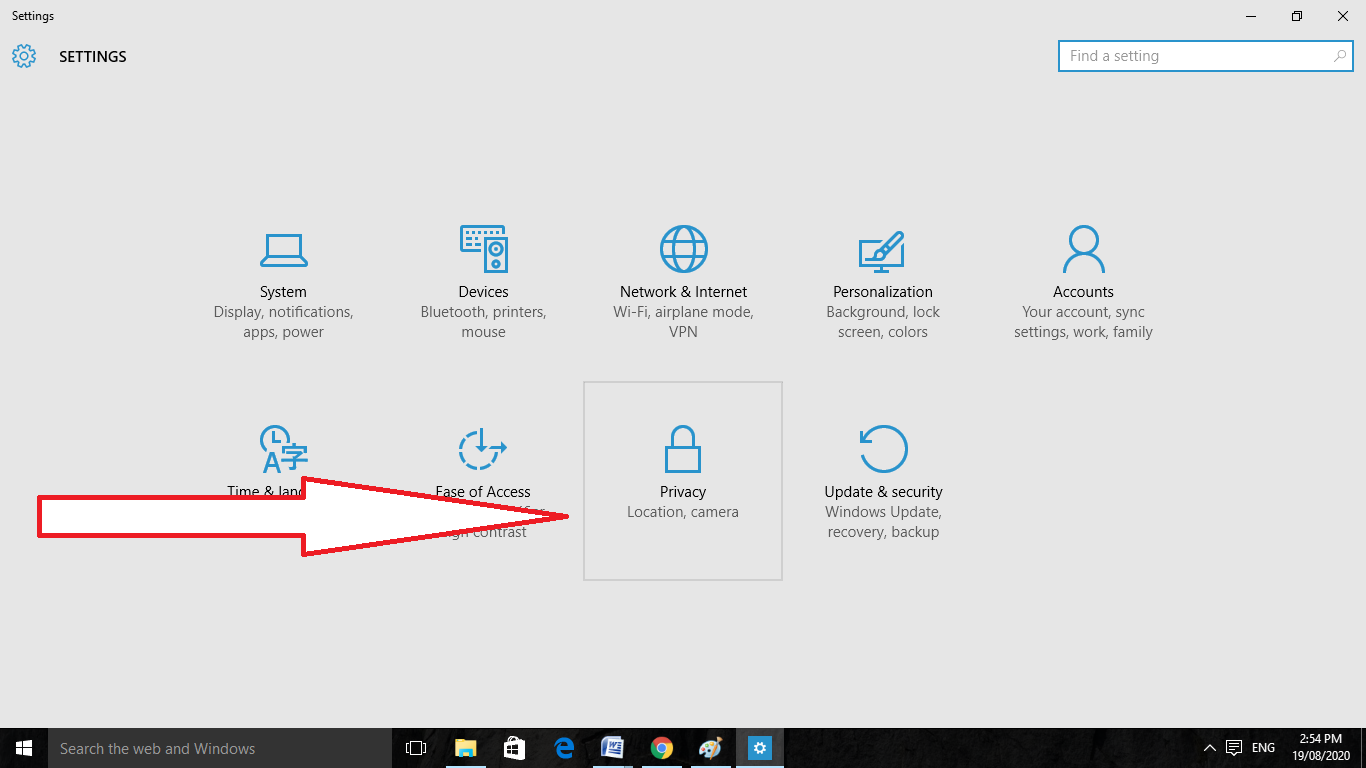
Step 9
Now press the keys of Windows + I and then click on the Privacy button.
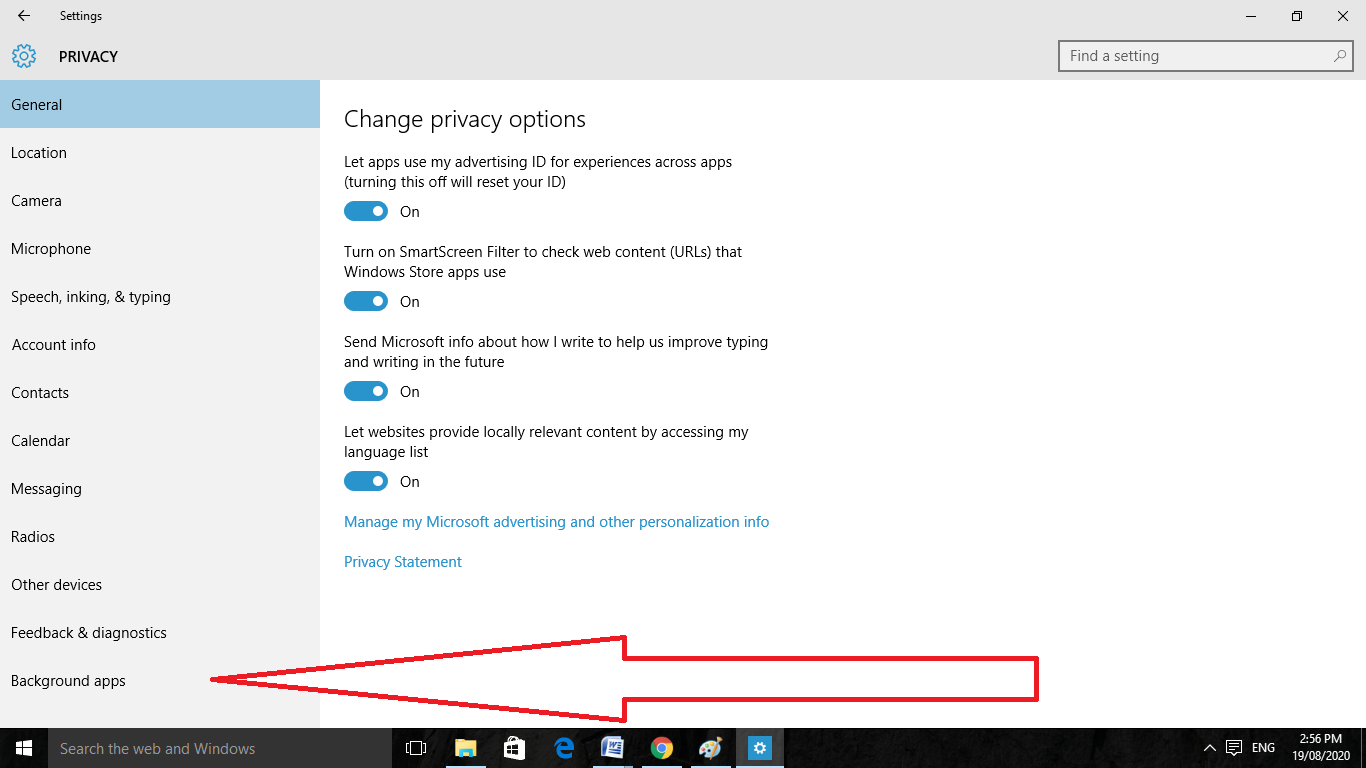
Step 10
Do the selection of the Background Apps from the leftward side of the pane and then turn off the toggle for all of the unnecessary apps.
Step 11
Then press the Windows + R key for opening the Run prompt.
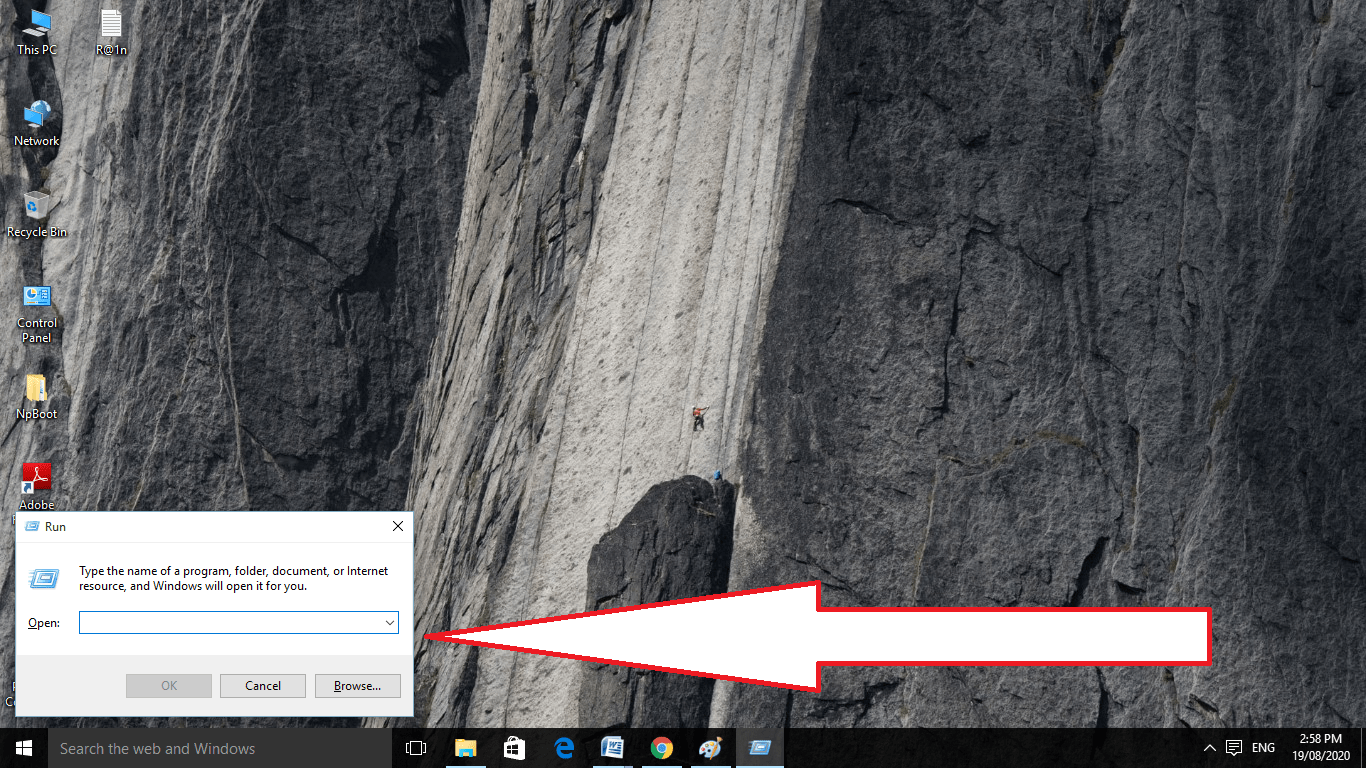
Step 12
Type the given command and then click on the Enter key.
control.exe srchadmin.dll
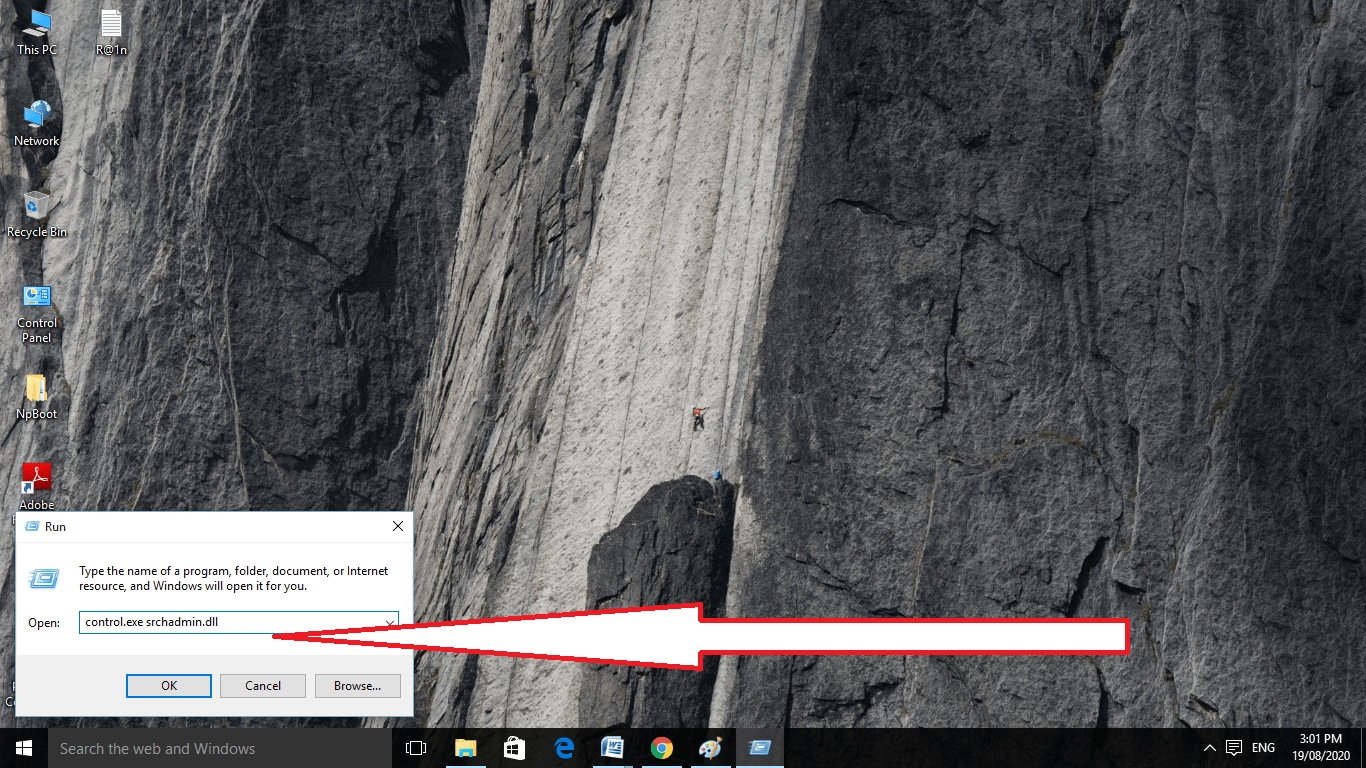
Step 13
Now click on the option of Modify and then uncheck all of the options.

Step 14
Click on the button OK for saving the options.
Step 15
Check here to view if the issue is still there.
Running there the Windows Update Troubleshooter
One of the perfect ways for resolving such issues in Disk Usage Issue in Windows PC is by running the Windows Update Trouble-shooter. If you are in use of Windows 10, then such a feature is in-built there.
Here we have the steps for running the troubleshooter on Windows 10:-
Step 1
Firstly, press the keys of Windows + S on the keyboard and then type there troubleshoot.
Step 2
Now do the selection of the Troubleshoot from the given results.
Step 3
Visit the right pane and then do the selection of the Windows Update.
Step 4
Then click on the Run the Troubleshooter button.
Step 5
Wait for the Troubleshooter to get the identification and address the issues there.
Step 6
Then follow the given instructions onscreen for resolving the issues.
If you are using Windows 7 or Windows 8, then follow the given instructions for 100 Disk Usage:
Step 1
Firstly, go to the website of Microsoft and download there the troubleshooter.
Step 2
As when it is downloaded, double-click on the executable file for running it.
Step 3
Now choose the Windows Update and then click on the Next button.
Step 4
Now the detection will be started by the Windows Update Troubleshoot and will fix all of the issues.
Perform a Clean Boot
For solving the issues, a proper clean boot can help you with it. By performing this, you can launch the system with only the necessary drivers and the start-up programs. Follow the given steps to perform the clean boot:-
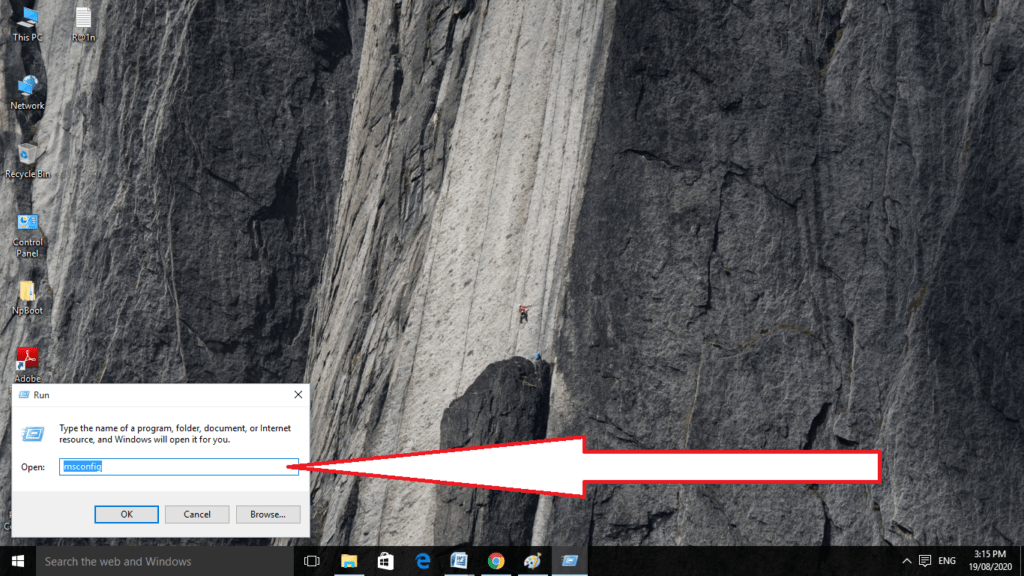
Step 1
On the keyboard, press the keys of Windows + R. It will open the dialog box of Run.
Step 2
Now type their msconfig and then click on the OK button.
Step 3
As the System Configuration window is up visit the tab of General.
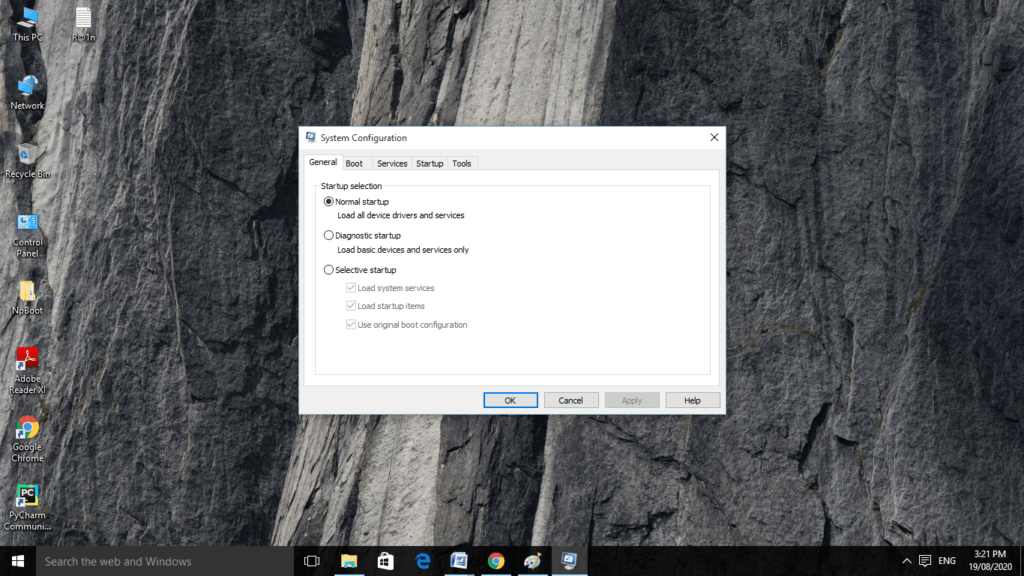
Step 4
Now deselect the items of Load Startup.
Step 5
Then click on the tab of Services and then tick the Hide all Microsoft services option which is located at the downward side of the given window.
Step 6
Then click on the button of Disable All.
Step 7
Visit the Startup tab and then click on the Open Task Manager.
Step 8
As the Task Manager is opened there, do the identification of all of the items of startups with the status of enabled one. Right-click each one of them and then do the selection of the Disable from the given options.
Step 8
Now close the Task Manager and then go back to the window of System Configuration.
Step 9
As now on the window of System Configuration, click on the OK button.
Step 10
Now restart the PC.
Removing items from the folder of Software Distribution
On Windows 10, there is the folder of Software Distribution that stores all the necessary files for the Windows Update.
Though the files that are not necessary for such a folder can cause the failure of the updates. For fixation of such an issue, follow the given steps:-
Step 1
Firstly, press the keys of Windows + R for opening the dialog box of Run.
Step 2
Now paste there the given path:-
C:\Windows\SoftwareDistribution\Download
Step 3
Then click on the OK button to proceed further.
Step 4
Do the selection of the properties from the given options.
Step 5
Visit the tab General and check there whether the option of Startup is disabled or not.
Step 6
Now click on the button of Stop.
Step 7
Click the tab of Recovery and set the option of First Failure for taking of no action.
Step 8
Then save the changes and click on the OK button.
Final Words
Here we had the various solutions by which you can fix the issues of modern host Disk usage. Go through with a read on this topic and tell us about it.
Is it OK to terminate the contemporary setup host?
This is where your issue arises, since the Modern Setup Host is one of the components used by the Windows operating system in the process of installing an update on your computer system. It will often operate silently in the background and will really prompt Windows 10 to look for and install any available updates on your machine.
Is a host with a modern setup required?
On your PC, the self-extracting archive and installer known as Modern Setup Host plays an important role. To put it another way, it is an essential part of Windows Update that guarantees that updates are installed in the correct manner. As a result, it only executes when there is a need to install an update.
What use does the current contemporary setup host serve?
When the Windows operating system attempts to install an update on your computer, the Modern Setup Host is one of the components that it uses. This is where your issue arises. It will often operate silently in the background and will cause Windows 10 to look for and install any available updates on your personal machine.
Is it possible that the modern setup hosts a virus?
Because Microsoft is the company that created the Modern Setup Host file, having it on your machine is completely risk-free. On the other hand, malicious software or a virus might pretend to be the setuphost.exe file on your computer.
Related Articles:
What is Windows Subsystem for Linux [WSL]
2 Steps To Turn off Protected Password Sharing in Windows 10
How To Change Administrator Name In Windows 10