How To Re-Enable Audio Device In Windows 10
I’ve accidentally disabled the audio device in Windows 10 how do I re-enable it? If you also disable an audio device in Windows 10 and want to re-enable it you can easily do it without taking anybody’s help. Just read this article and enable the audio device in Windows 10 on your own.
Enable Audio Device In Windows 10
To enable the audio device in Windows 10. You’ve to follow these given below step by step guides. The audio configuration is where you find all your solutions for audio devices in Windows.
If you disabled the audio device, they might not see it under the list of playback devices or in Windows settings.
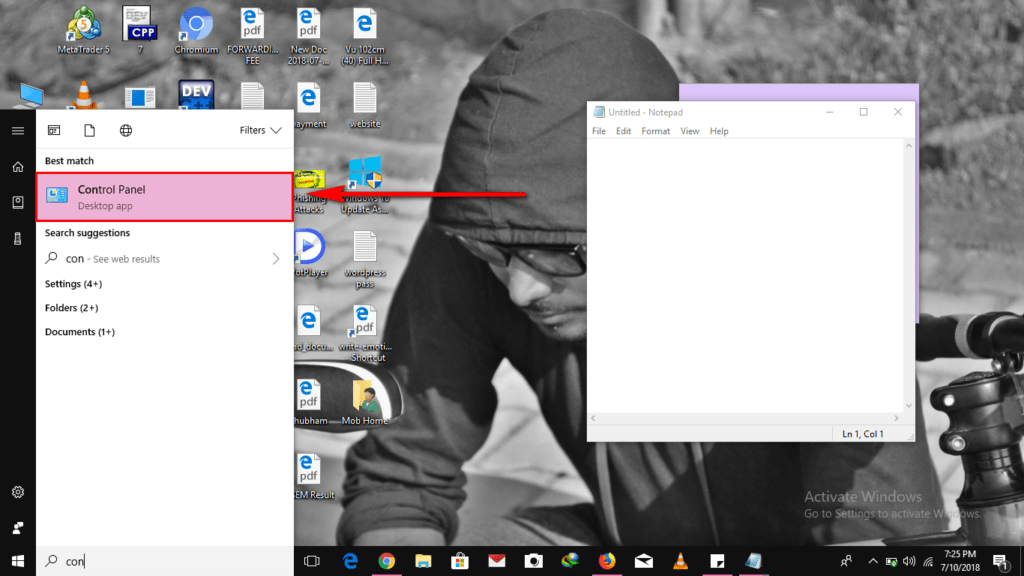
Step 1:
Go to the Start Menu and open Control Panel.
Step 2:
Then go to Hardware and Sound then click on a Sound option.
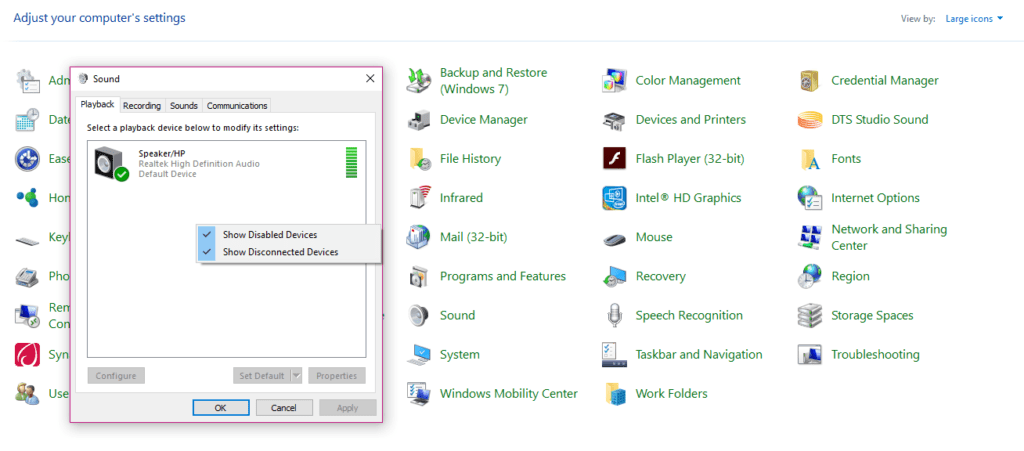
Step 3:
In the Playback tab, open the list through right-click and make sure “Show Disabled Devices” has a tick mark on it. Doing this will show headphones/Speakers are disabled, and it will now show up in the list.
Step 4:
Right Click on the device and “Enable” it. Click “Ok”.
In case, by following the above steps the audio device in Windows 10 is still disabled then used the second method by following the next steps.
Step 5:
Go to the Settings> Click on themes> Advance sound settings> Right-click on the audio device you have connected then open Configure a device.
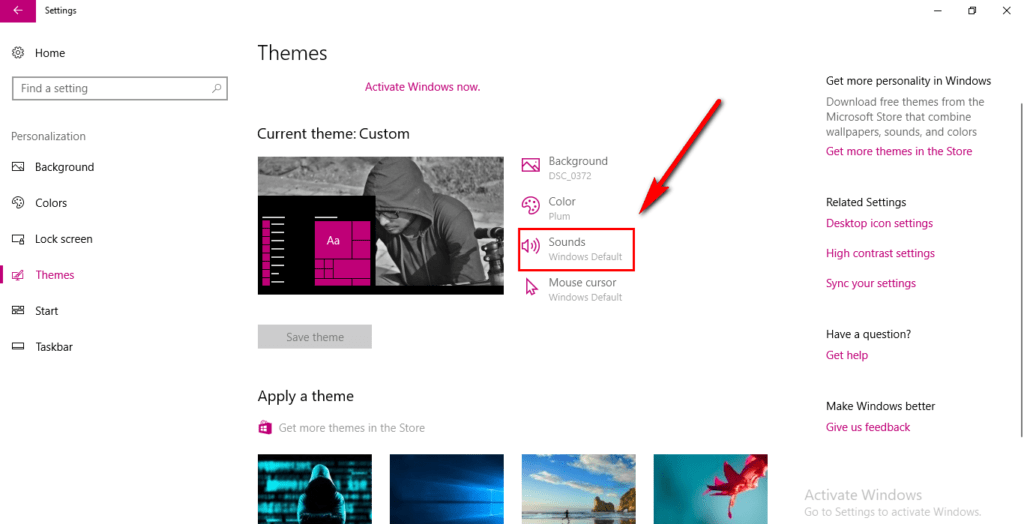
Step 6:
Now test the sound level you want then Click Next. Then configure the audio device.
Comments are closed.