
Thinking, How Can I Change File Type In Windows 10!
A file type does matter while exchanging or transferring files from here to there. There are computers or software that do not support certain file types. So it is either essential to have a record in a particular modal. That it supports every equipment and software, or it should be at ease and convenient to change files types to have less effort on stuff like these.
Change File Type in Windows 10 – Step by Step Guide
So, to change a specific file type in Windows 10 without using third-party software. Let’s take an example of a video format file that you want to convert in an mp4 type.
How To Check File Type In Windows
Step 1:
First of all, open my computers on your desktop and click on documents that appear on the drop-down list on the left side of the screen. Opening documents is with the assumption that the file you want to convert into another type is present in the documents section. If not so, you have to reach that particular video or file whose class you want to change.

Step 2:
Once you reach that file, right-click on the record just once so that a drop-down list appears and drags the cursor to the last option that says properties. Click on it, and a dialogue box will appear with all the features associated with the video from general settings to security to details and previous versions.
Step 3:
In general settings, you will see many things like version, time of creation, etc. and type of file which is of your use. Just check the file type out there, and then as you have to convert it to another example, which here is assumed to be mp4.
Change File Extension on Windows 10
Now follow these steps to change the file extension on your computer.
Step 4:
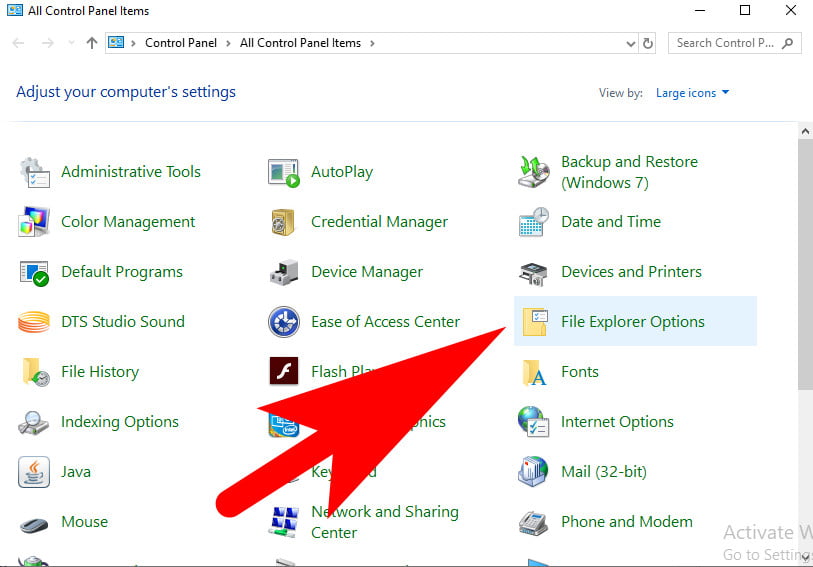
First of all, you have to go to the control panel, either from your desktop or by searching it up in the windows menu.
Open control panel.
Step 5:
The control panel appears with a few options where you gotta click on “Appearance and personalization.” The appearance and personalization screen opens up again with a few options.
Step 6:
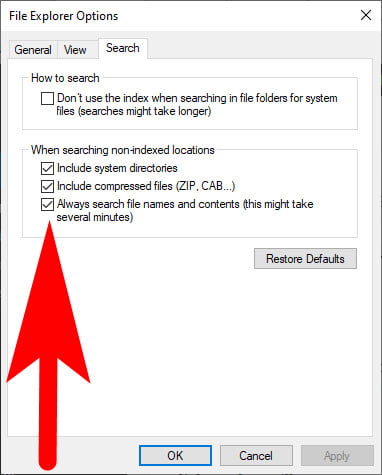
In there, you gotta click on, “File explorer options.” When you click on it, you will see a dialogue box, where you gotta go to the “View” tab and uncheck the box that says “Hide extensions for the known file” Then, apply it.
Step 7:
Close that specific tab and then go back to that particular file whose type you are willing to change. Right, click on it, and a drop-down list will appear where you gotta click on “Rename.”
Step 8:
Just remove the previous extension, what so ever it was, and replace it with the one you wanted to change it into, as in here you will go with ‘.mp4’. Once you are done, press enter and a dialogue box will appear asking confirmation and warning you about.
The file may not support the specific extension you have added, which is what you have to check if your data supports the extension. Once you are done with the checking and stuff, you have to click on YES in the confirmation box, and the file type has changed.
Step 9:
You may revisit the properties section for the confirmation of extension change and assure yourself. This is all how you can change your file type, which is found super convenient with the process mentioned above.
Wrapping Up!
The article based on the change file type on a Windows computer. Moreover, if you want any other help related to Windows. Feel free to contact us using the comment box and give your feedback regarding this article.
You Might Also Want To Read: